29. Mai 2013

DIY Black Sand Nails

When the "sand nails" trend was just emerging, I was not quite sure if I'm gonna be "in" or "out". Finally I thought: "okay, I'm not overexcited, but I'll try once for sure". But before buying a sand texture nail polish I decided to create hardcore sand nails myself. What I got looks rather like wet gritty asphalt, or like volcanic sand - you judge! 

Black Sand Nails

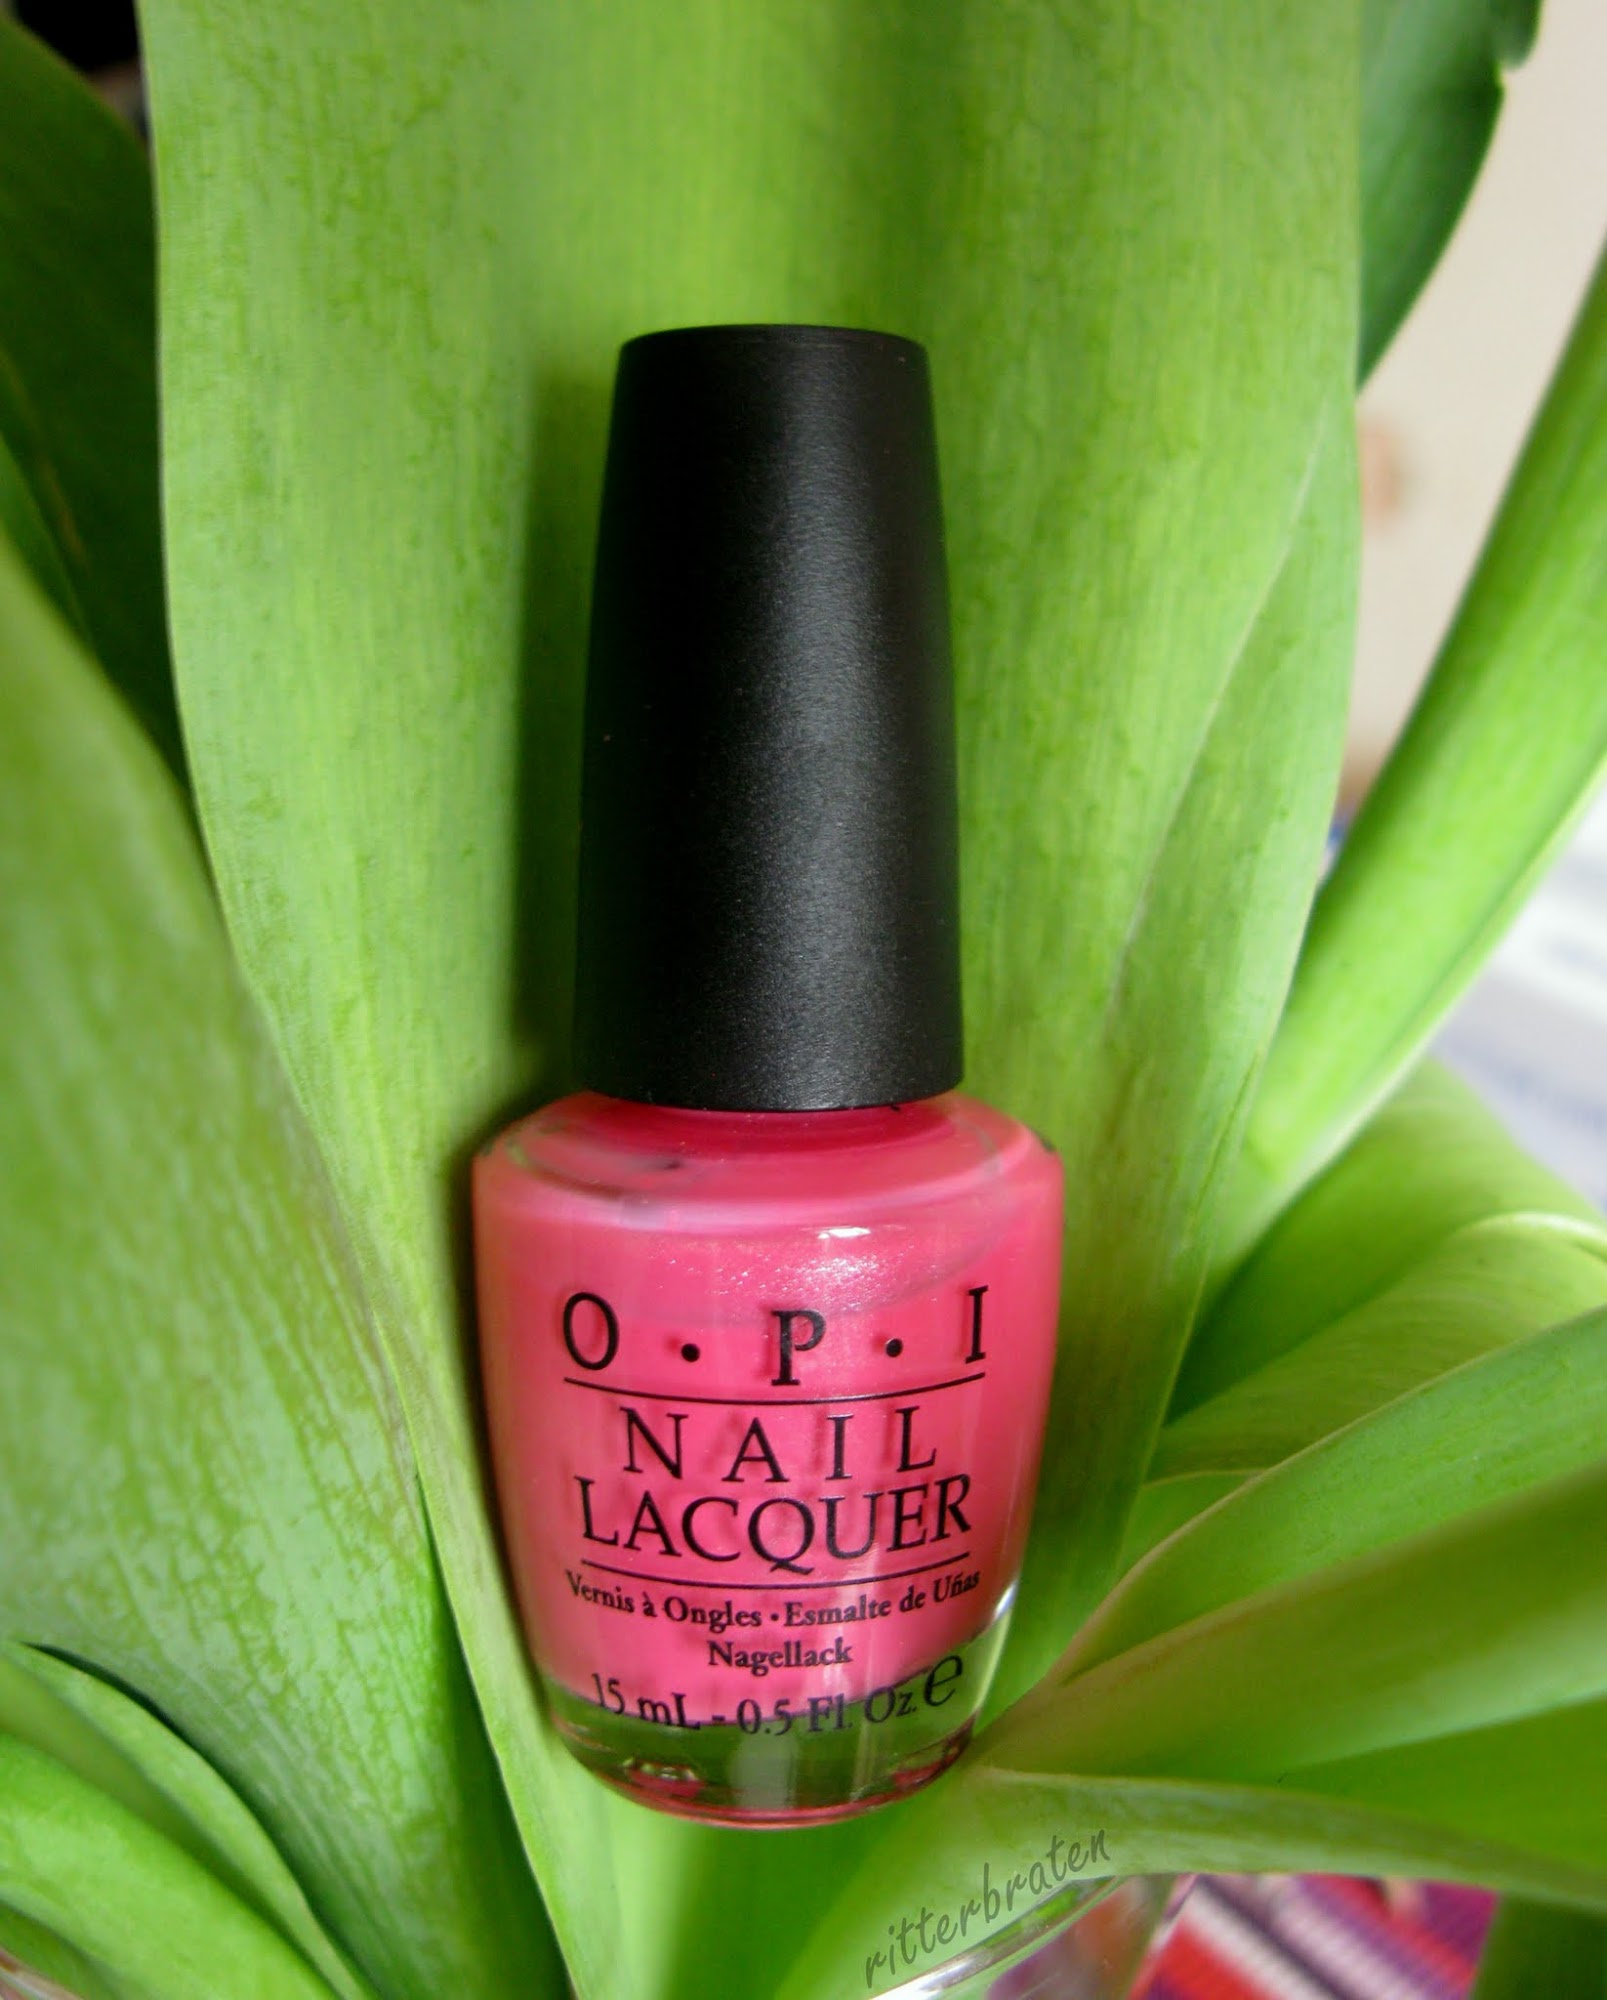
Making this black gritty mess was quite simple: all I needed is a black creme base and a jar of loose black glitter. Let's start with the base colour...

Essence Black Out

Using the chance, I'd like to show the swatches of Essence Black Out, a black creme with satin finish - 1 out of 2 black cremes I own :) To be honest, the satin finish sucks, it's just half-matte and streaky, I didn't even want to make pics. What you see is all covered with top coat. Otherwise, the polish is quite goopy, but with a lil patience you can layer it with 1 coat. 

Essence Black Out

Essence Black Out

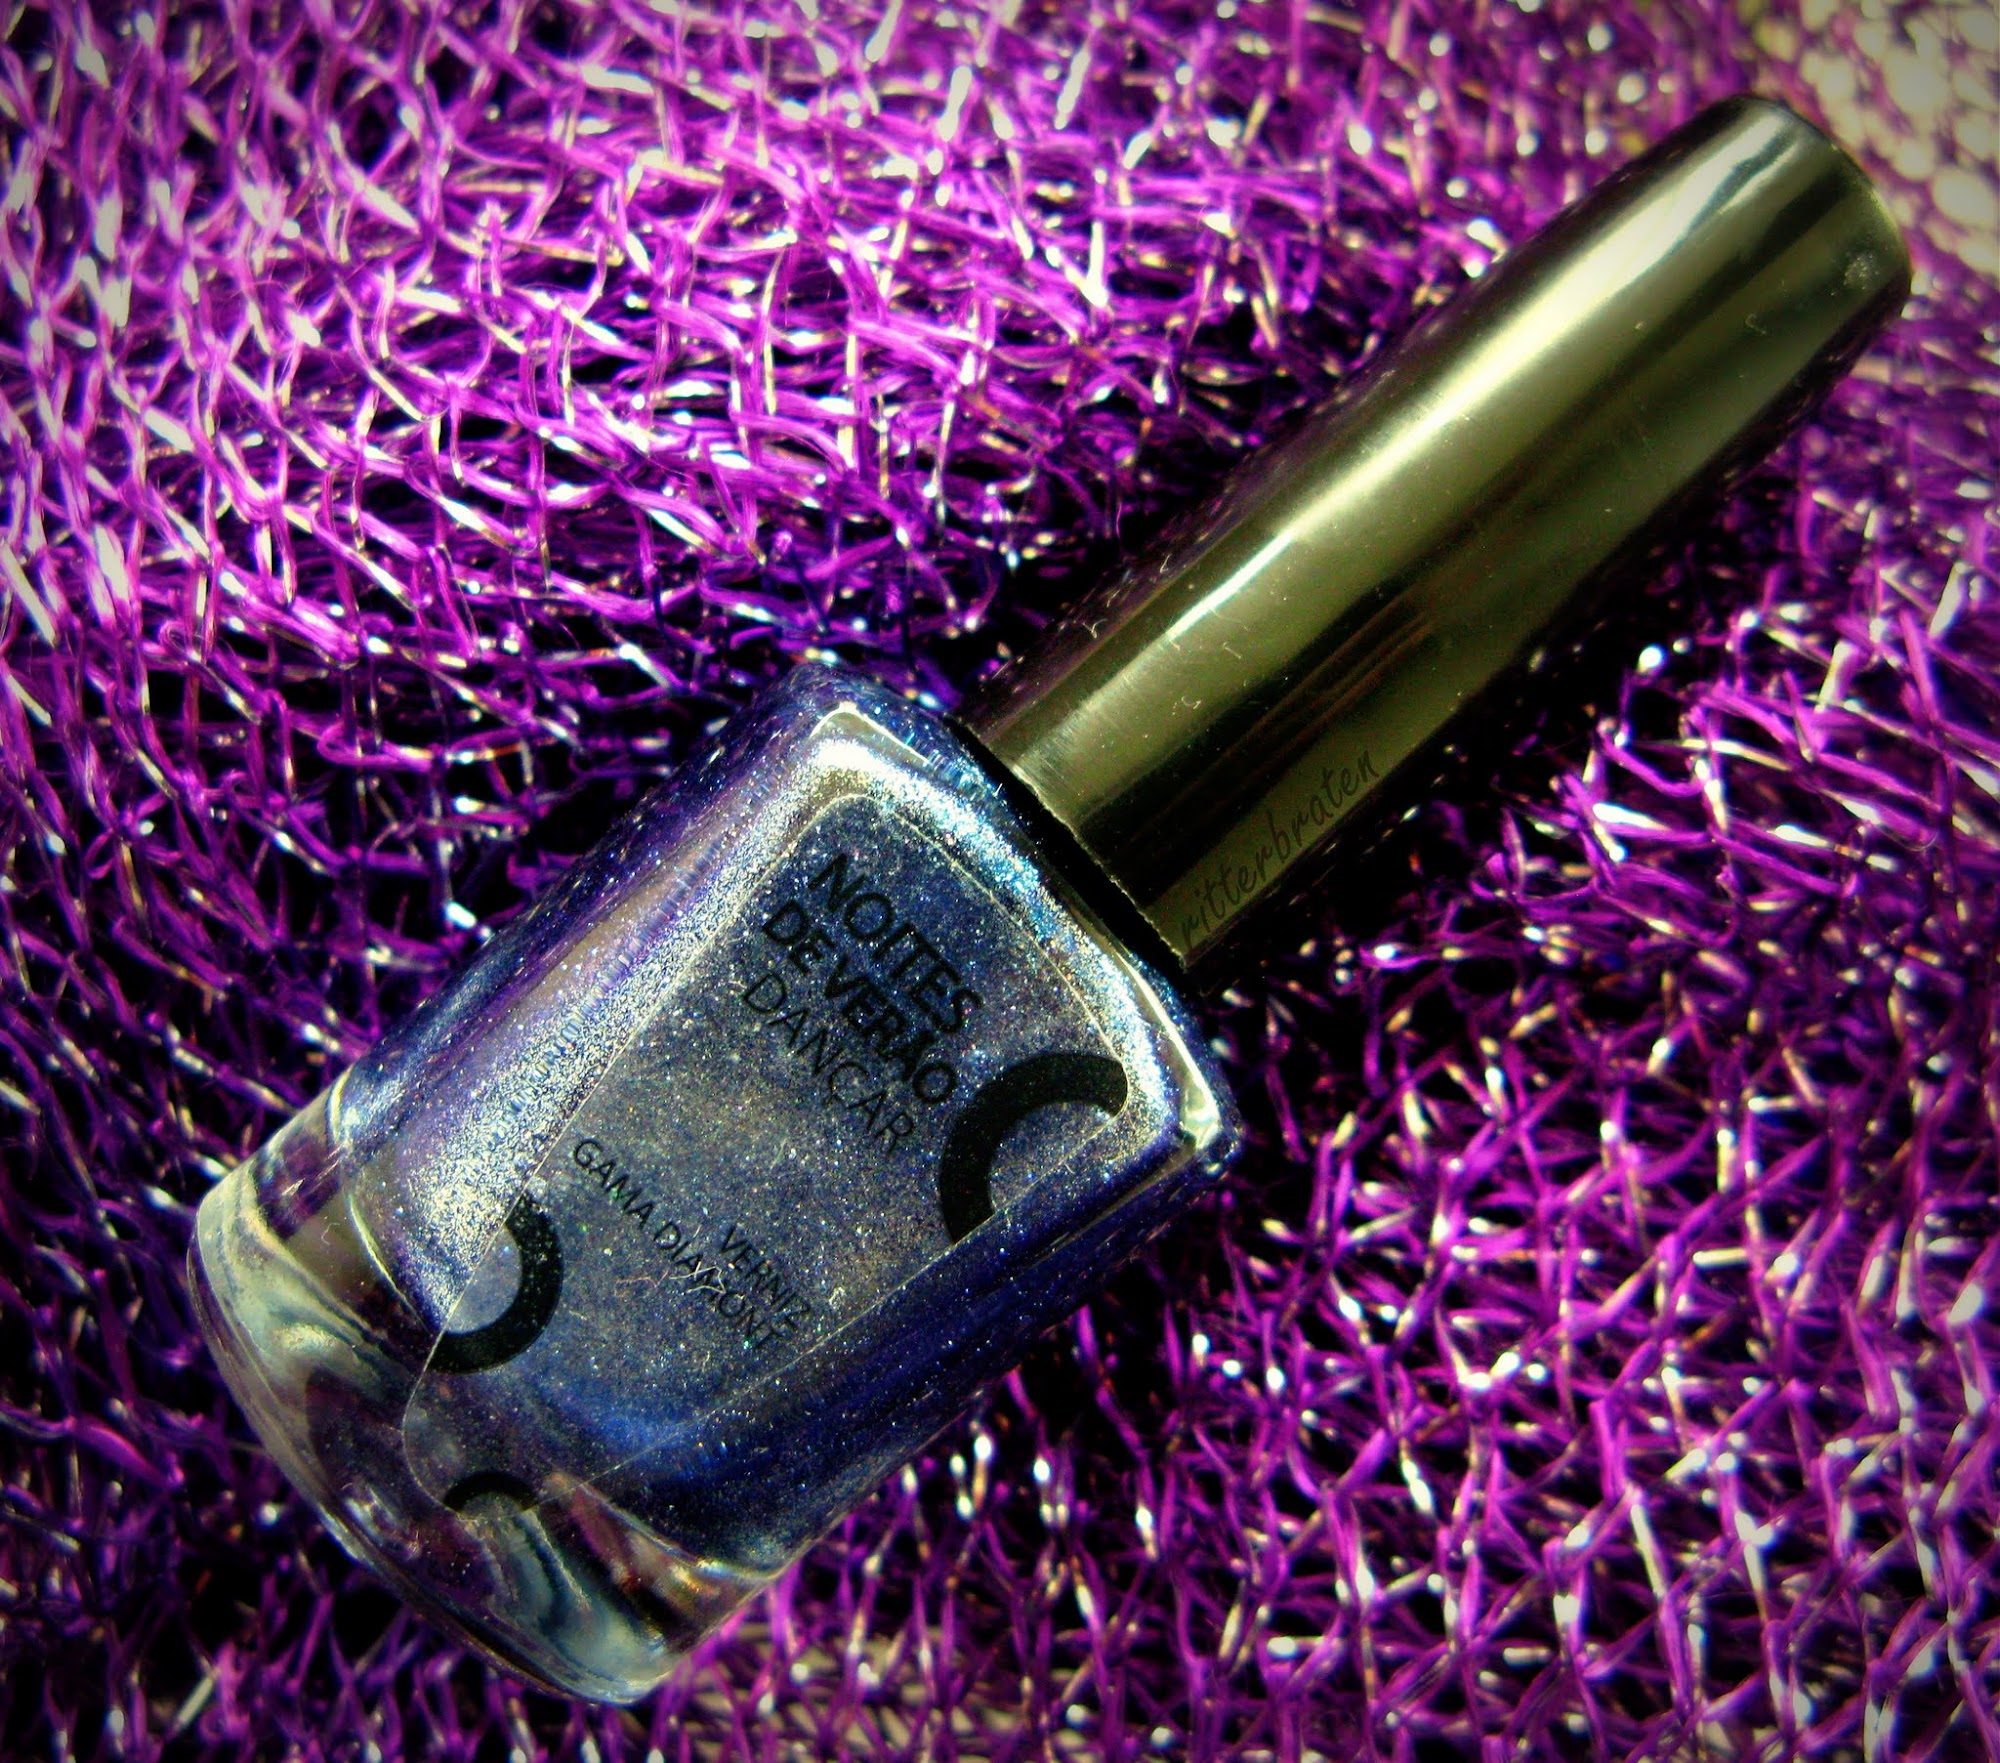
When I had my black base colour ready, I just applied a layer of top coat on each nail and dipped into the glitter jar, working with one nail at a time - as easy as that! :) By the way, the glitter I got from lovely Dulce among other cool nail art supplies.. thank you, dear! :)


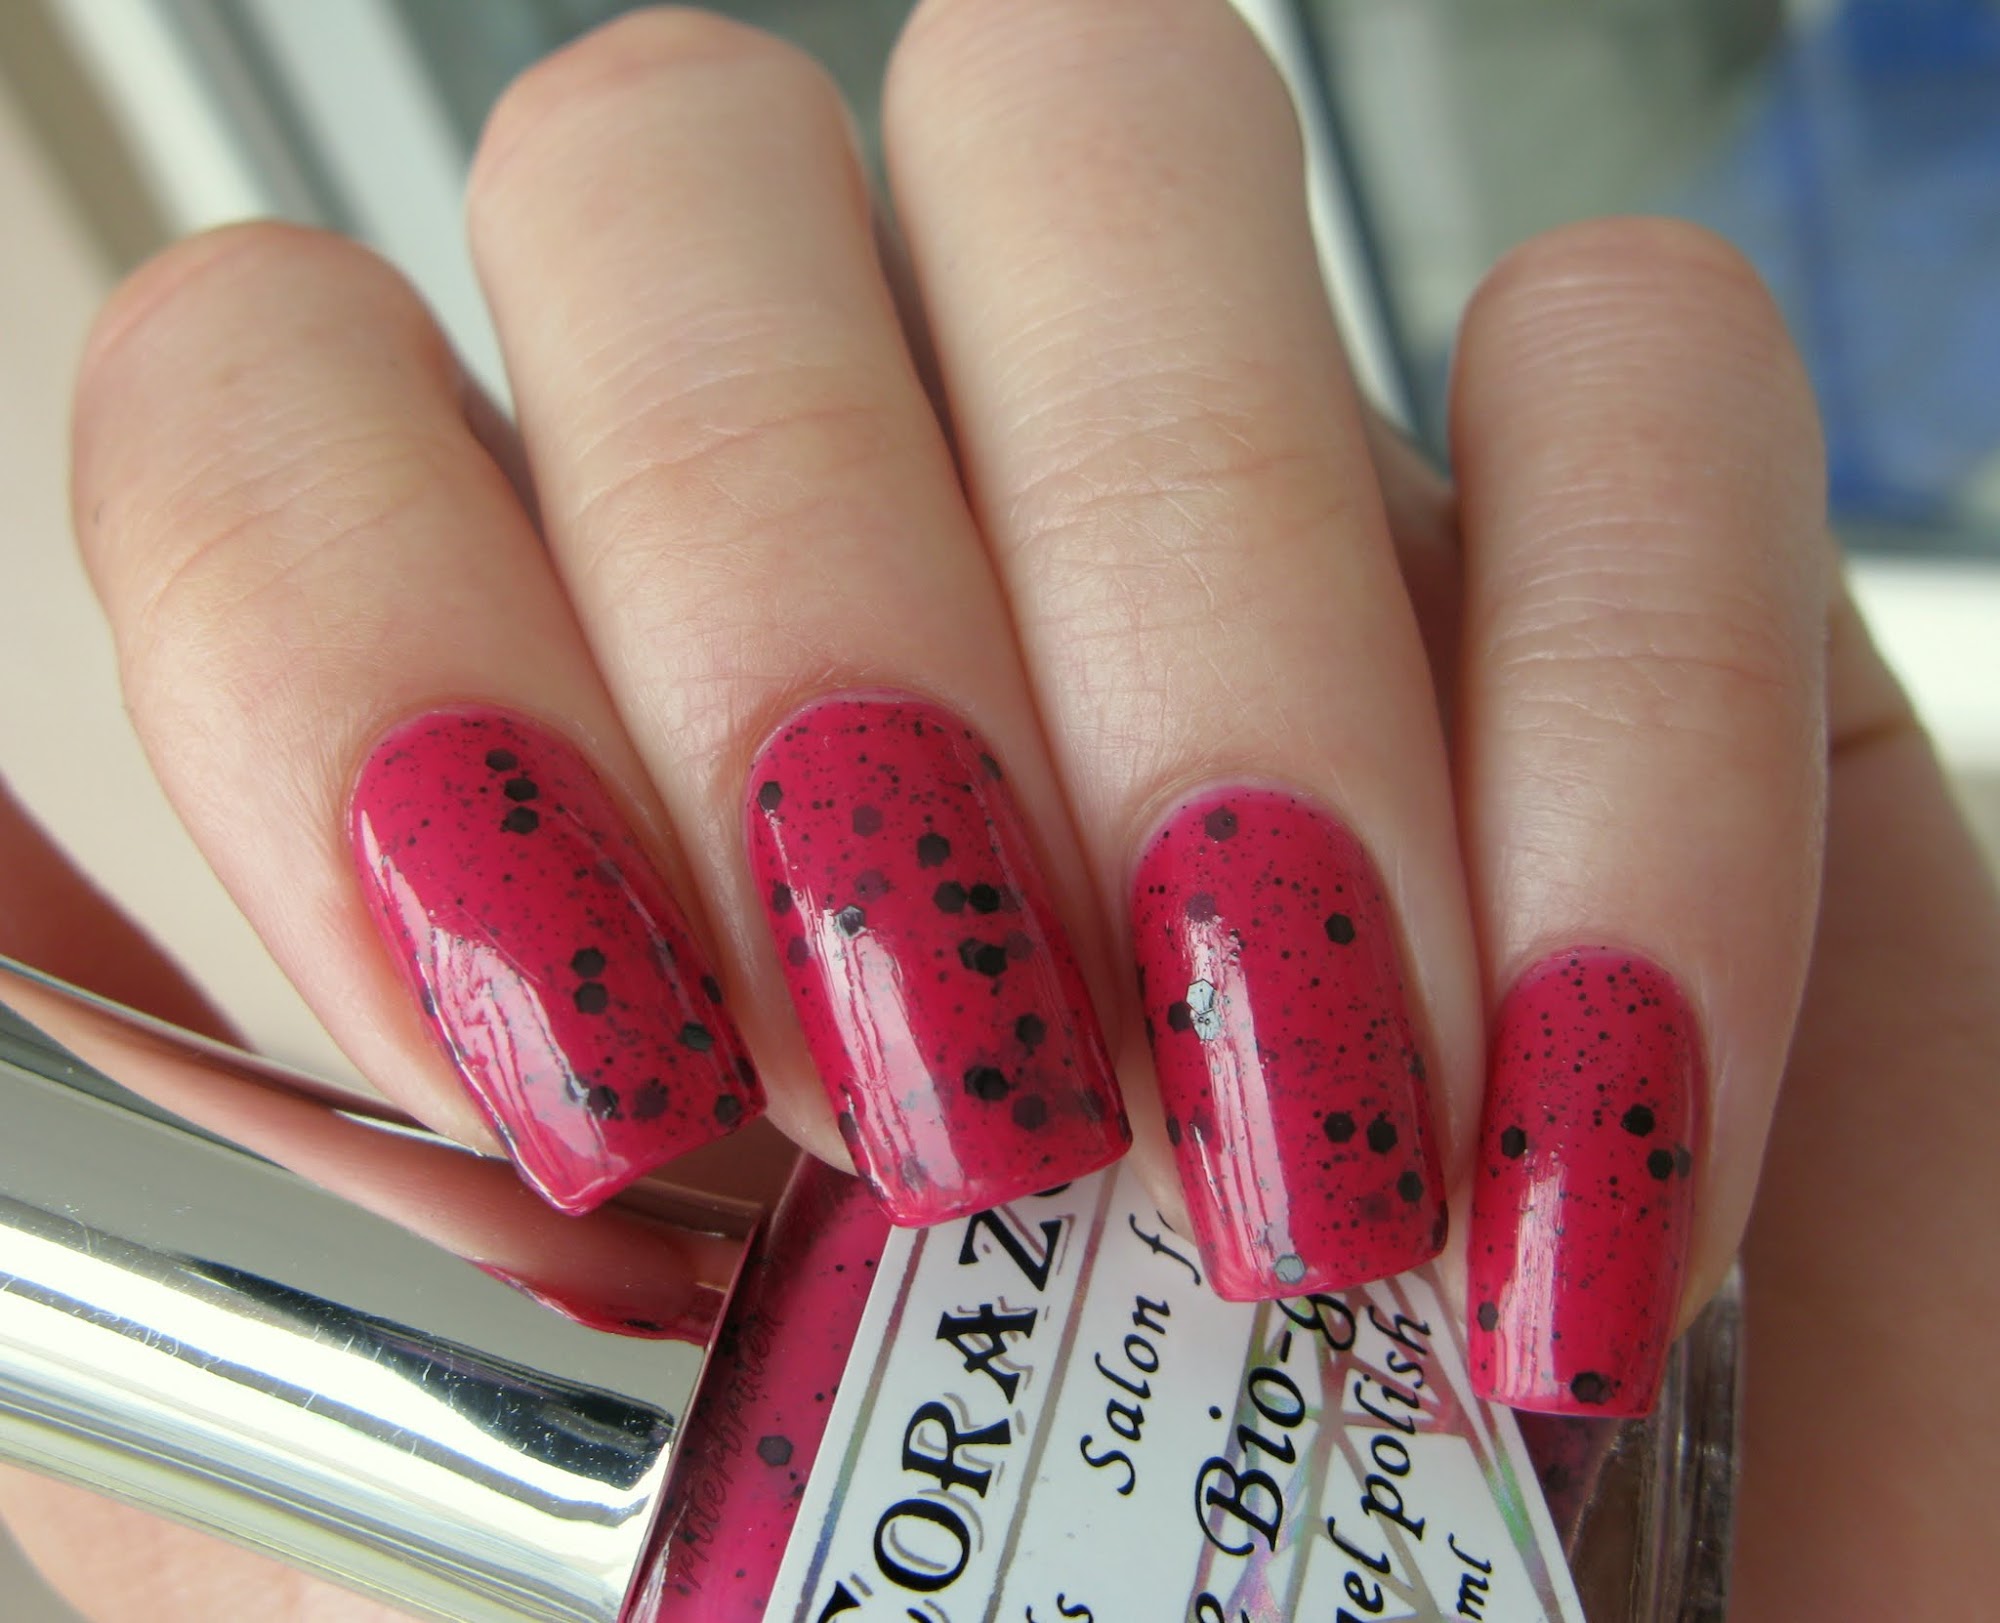
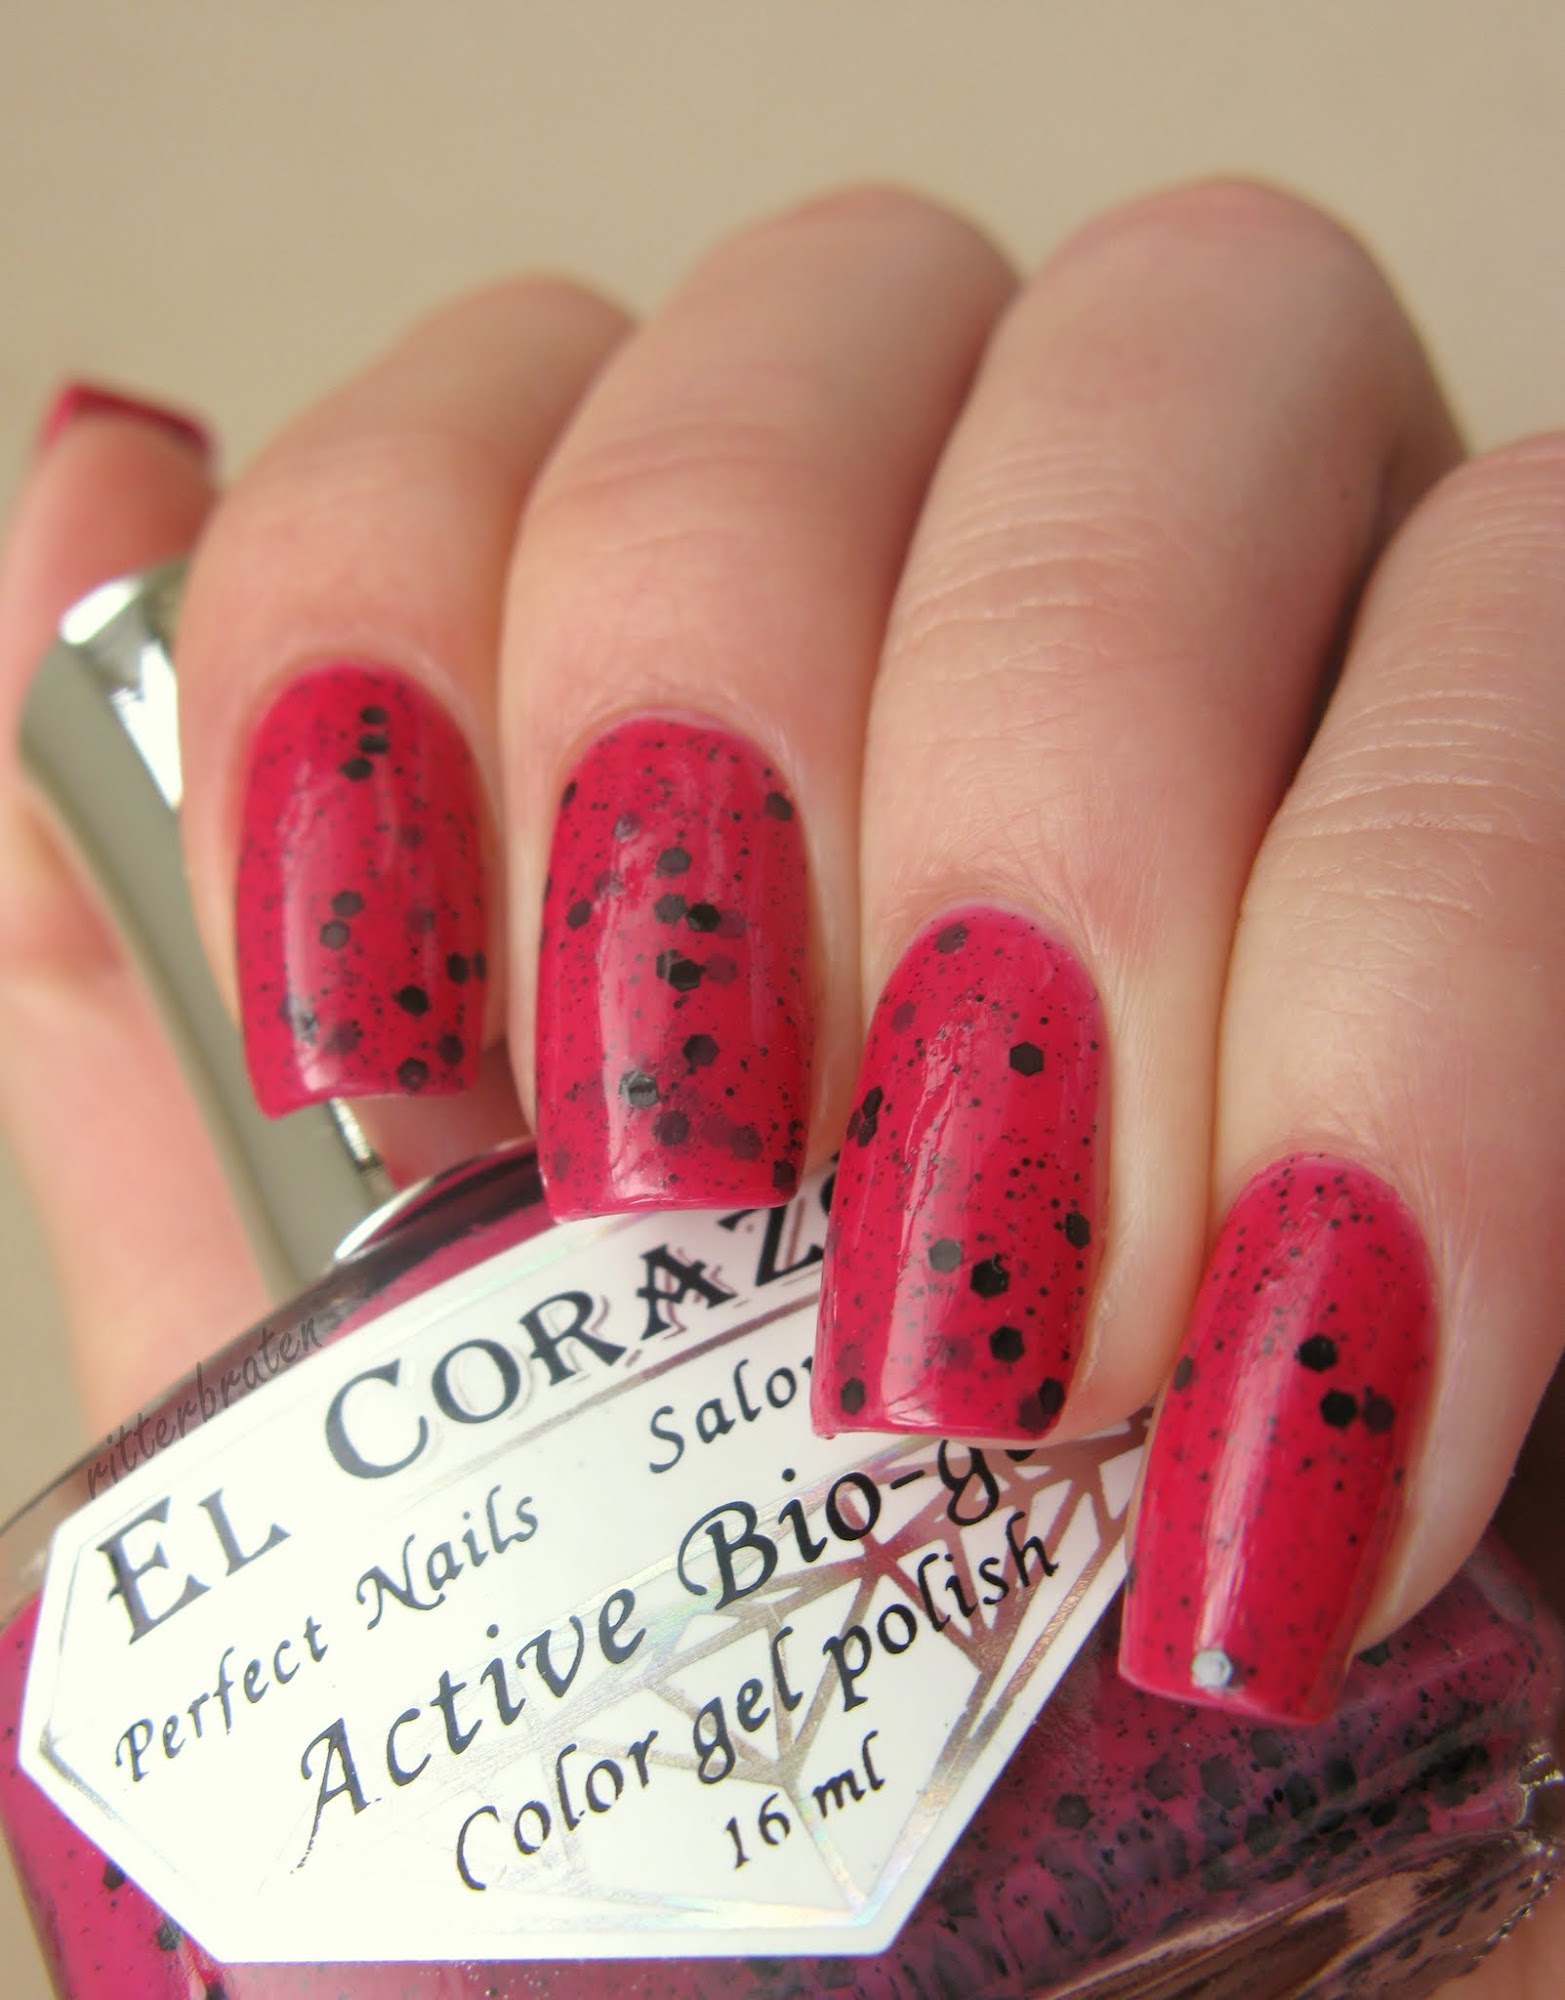
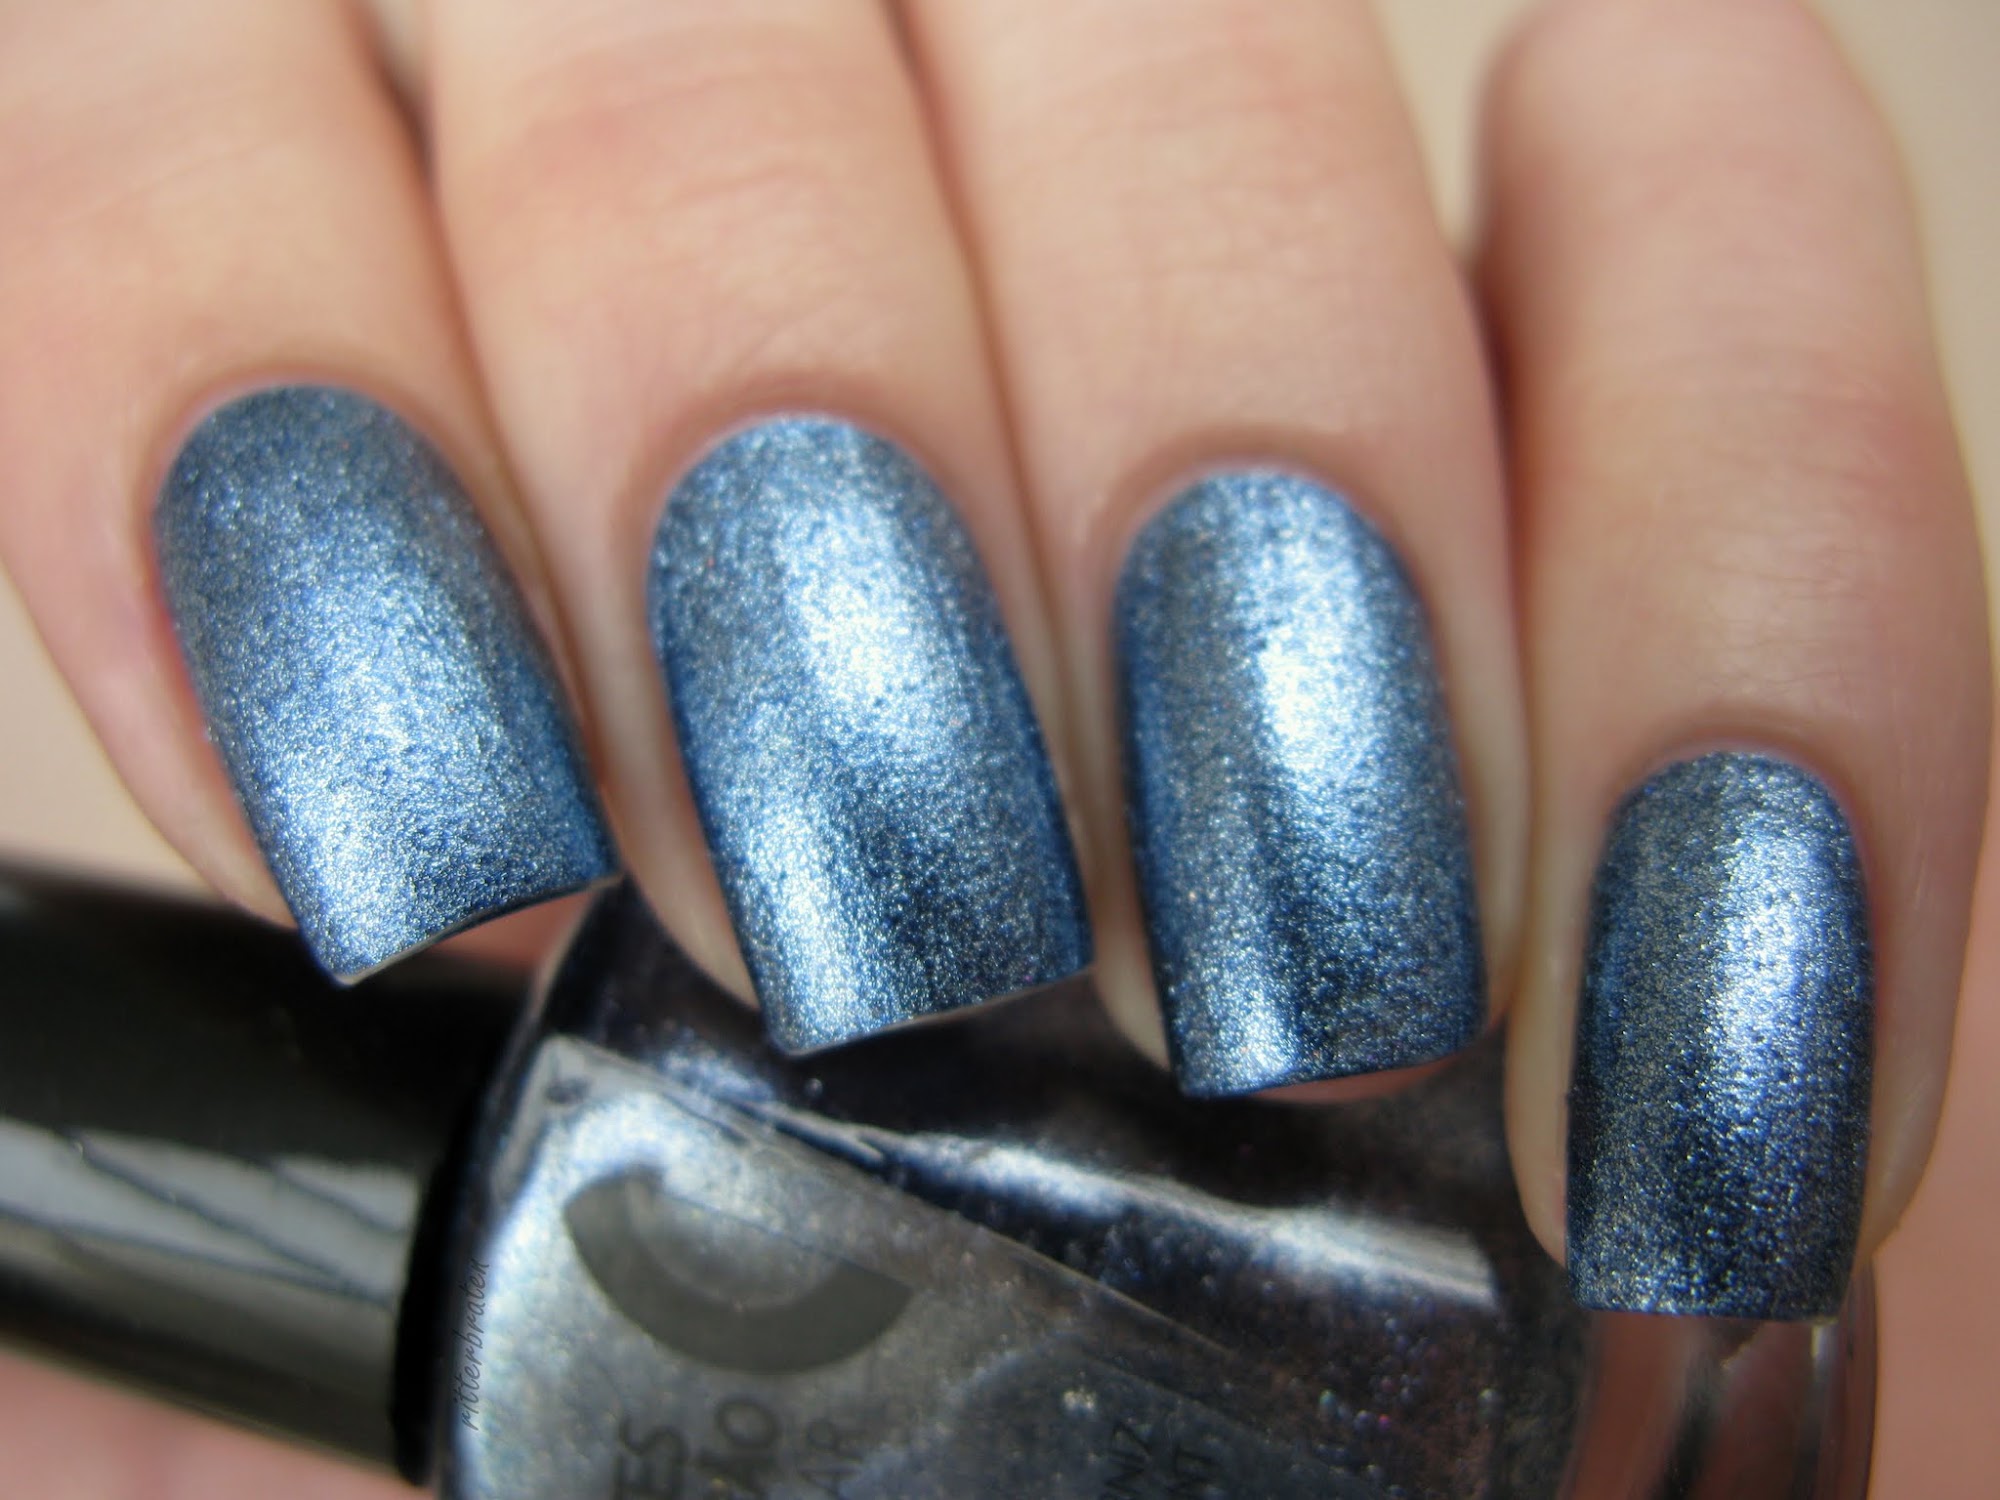
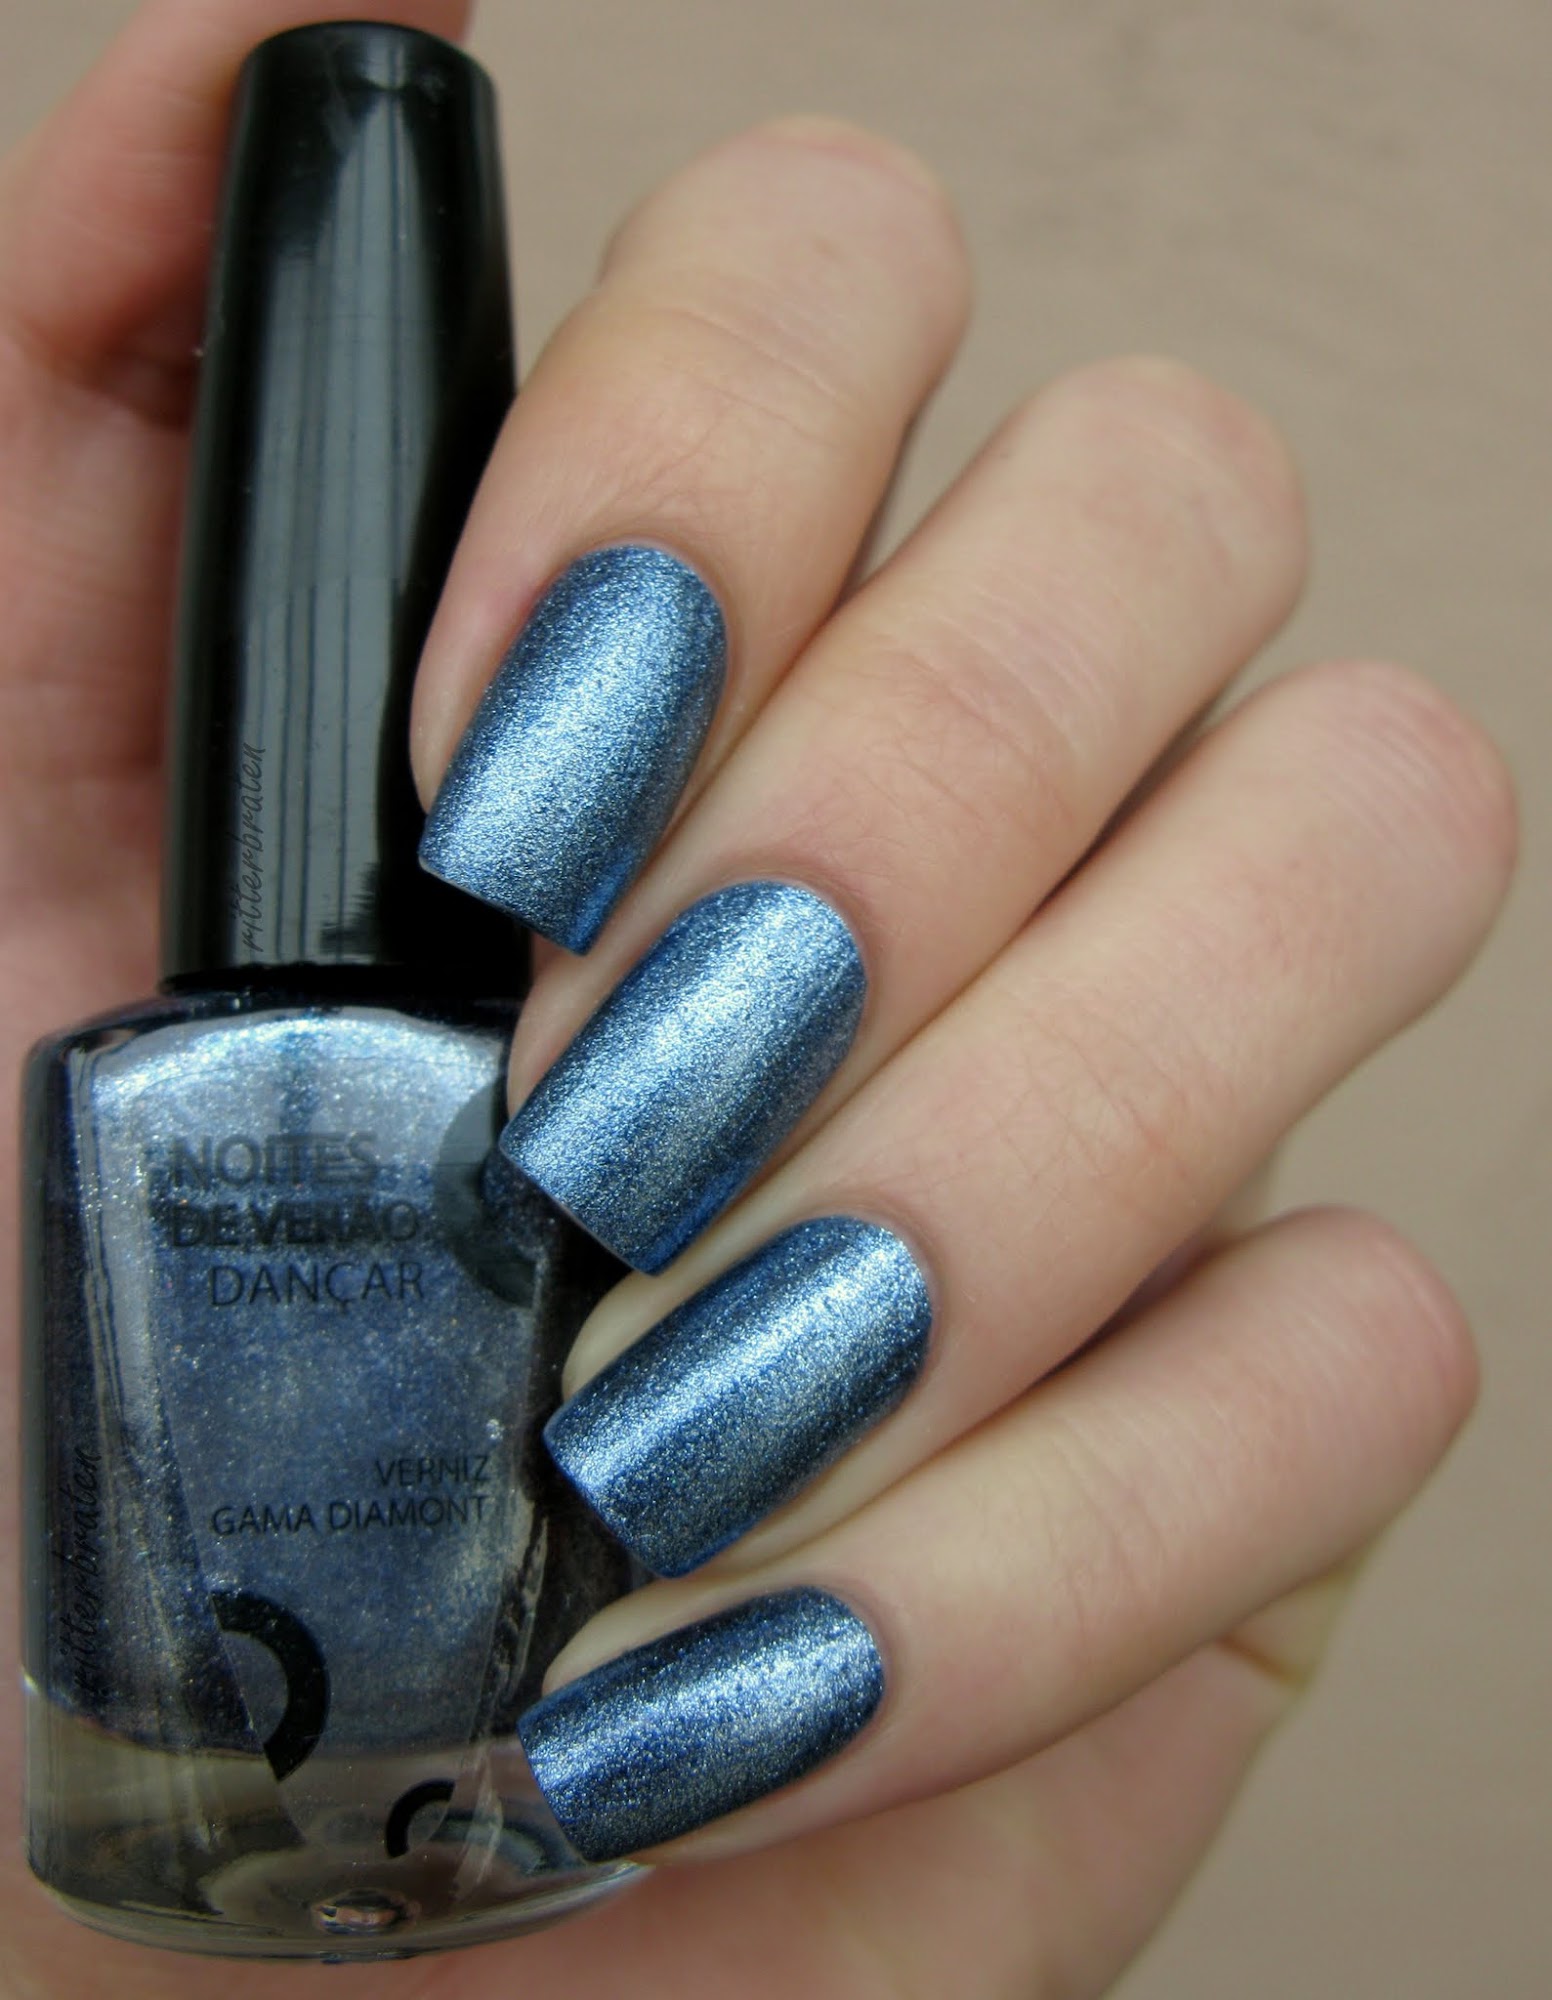
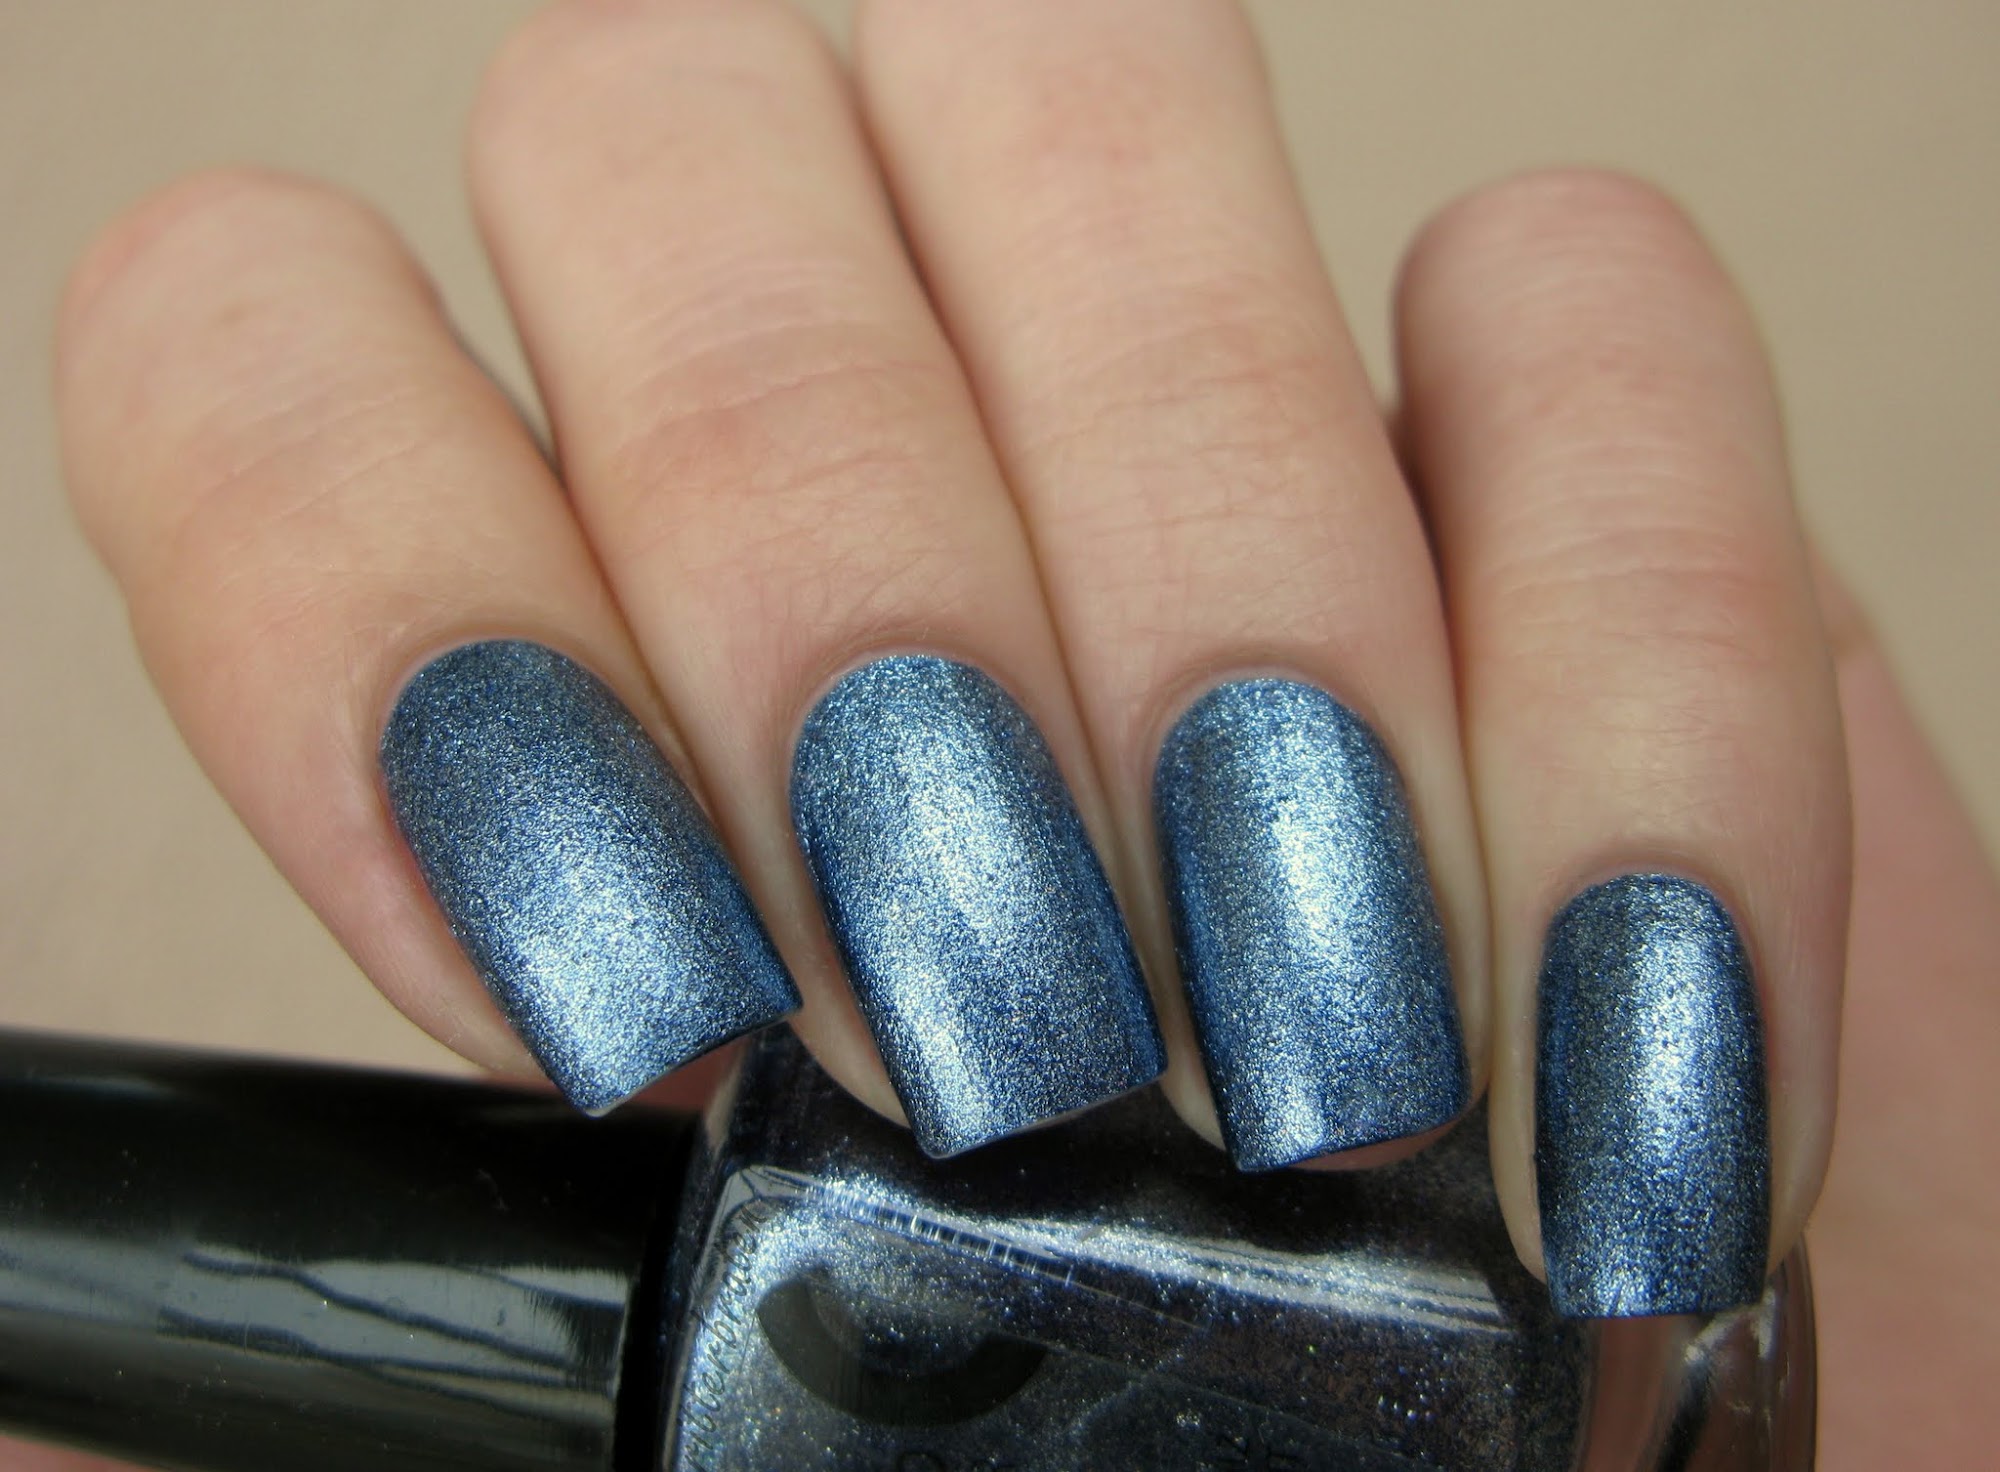
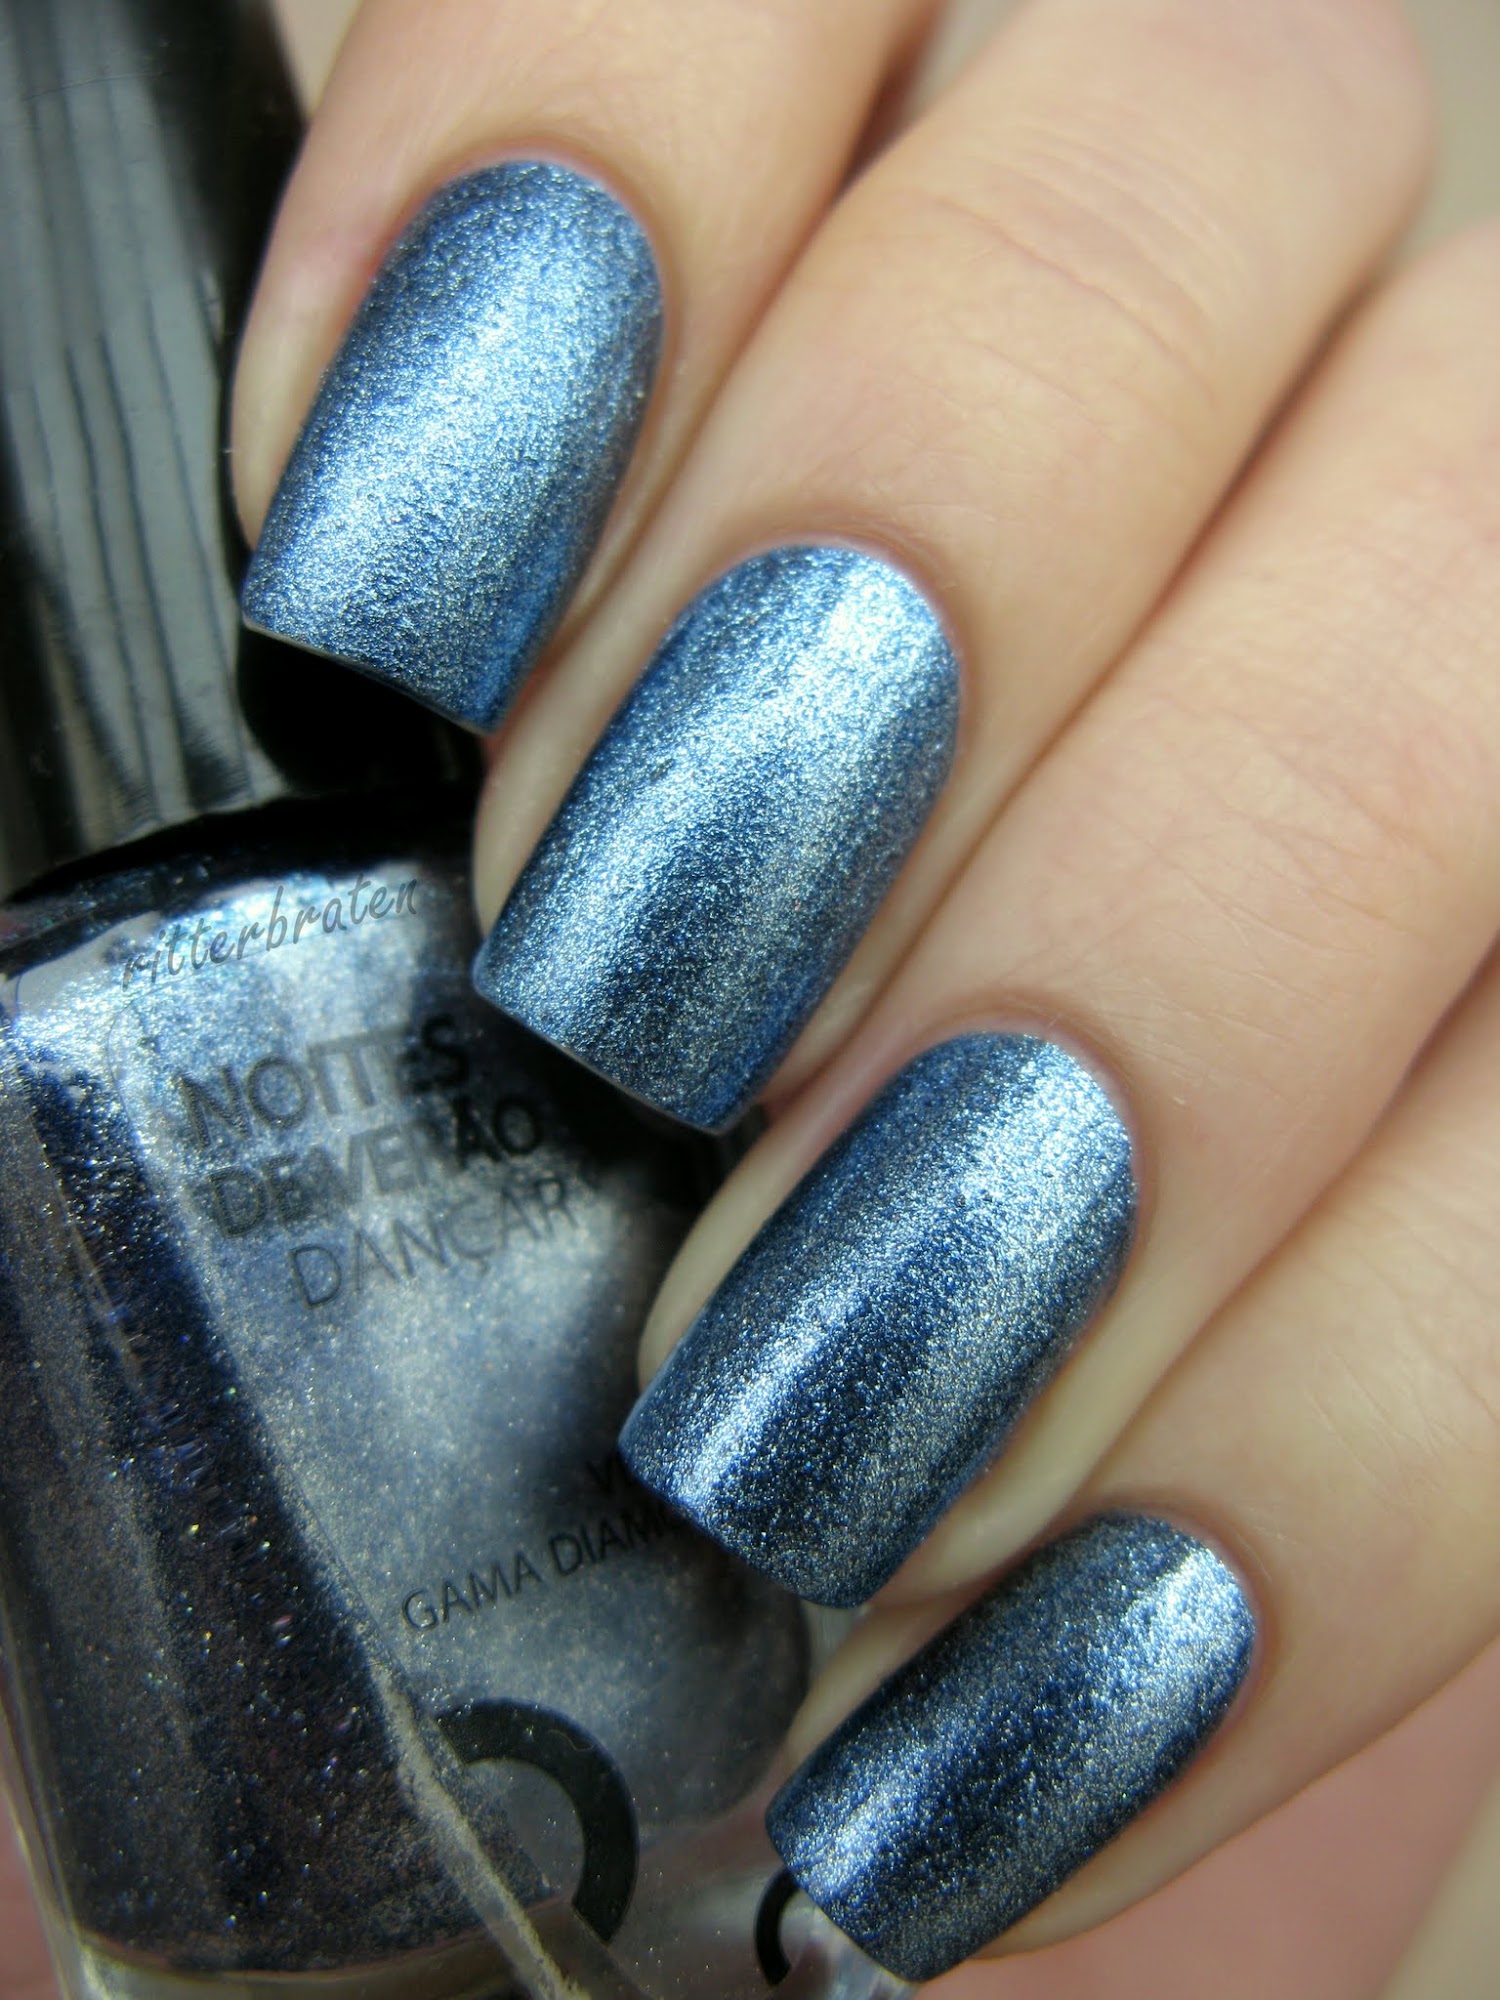
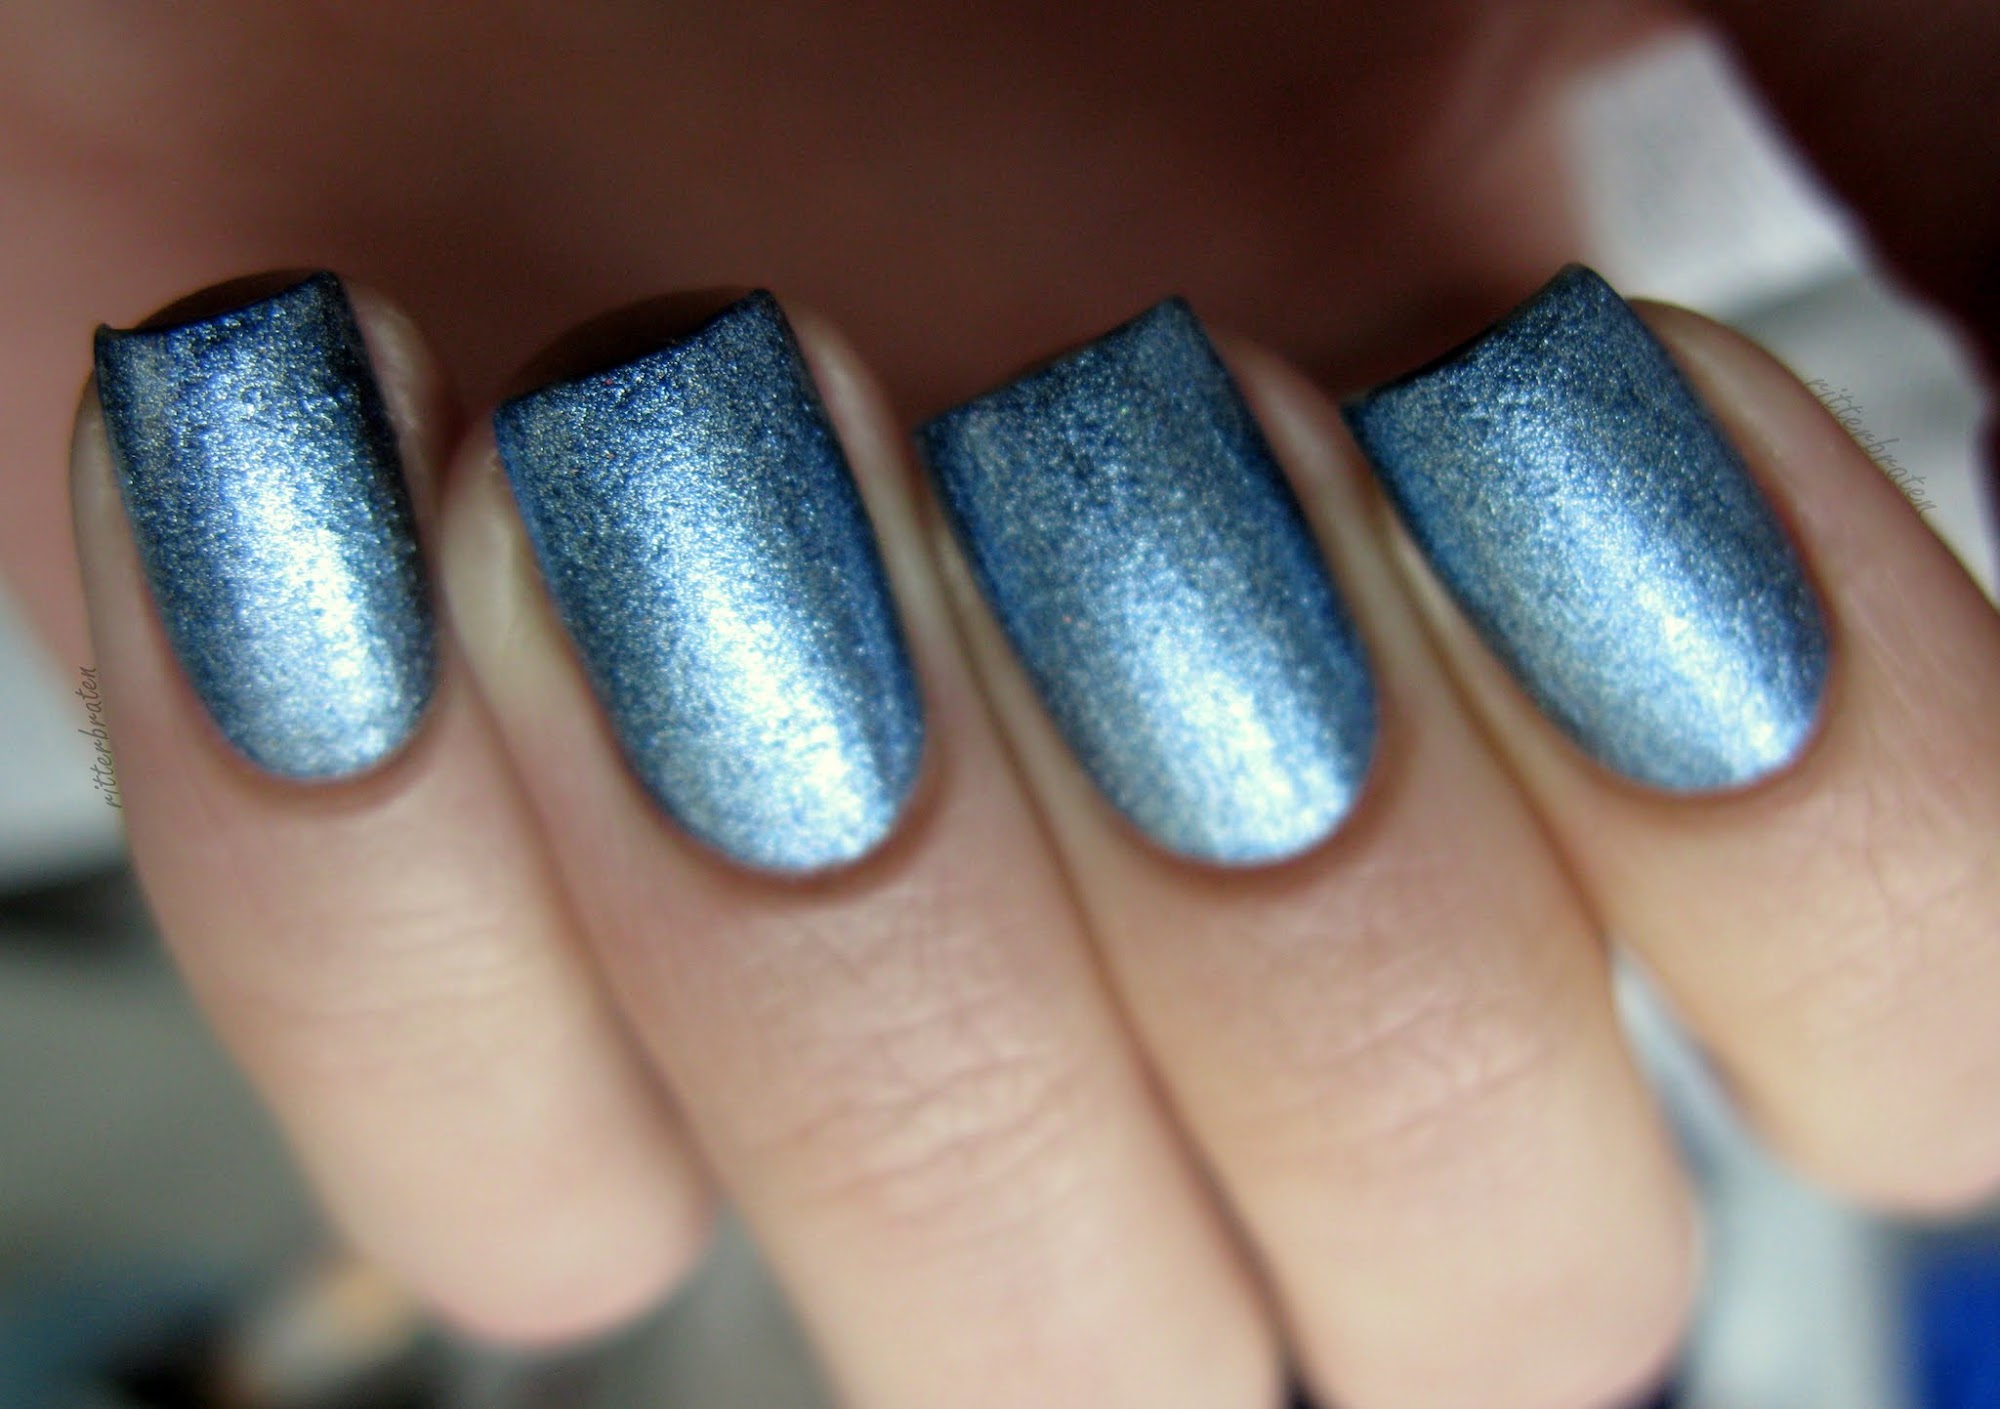
And the "sandy" result I got: 

Sand Nails

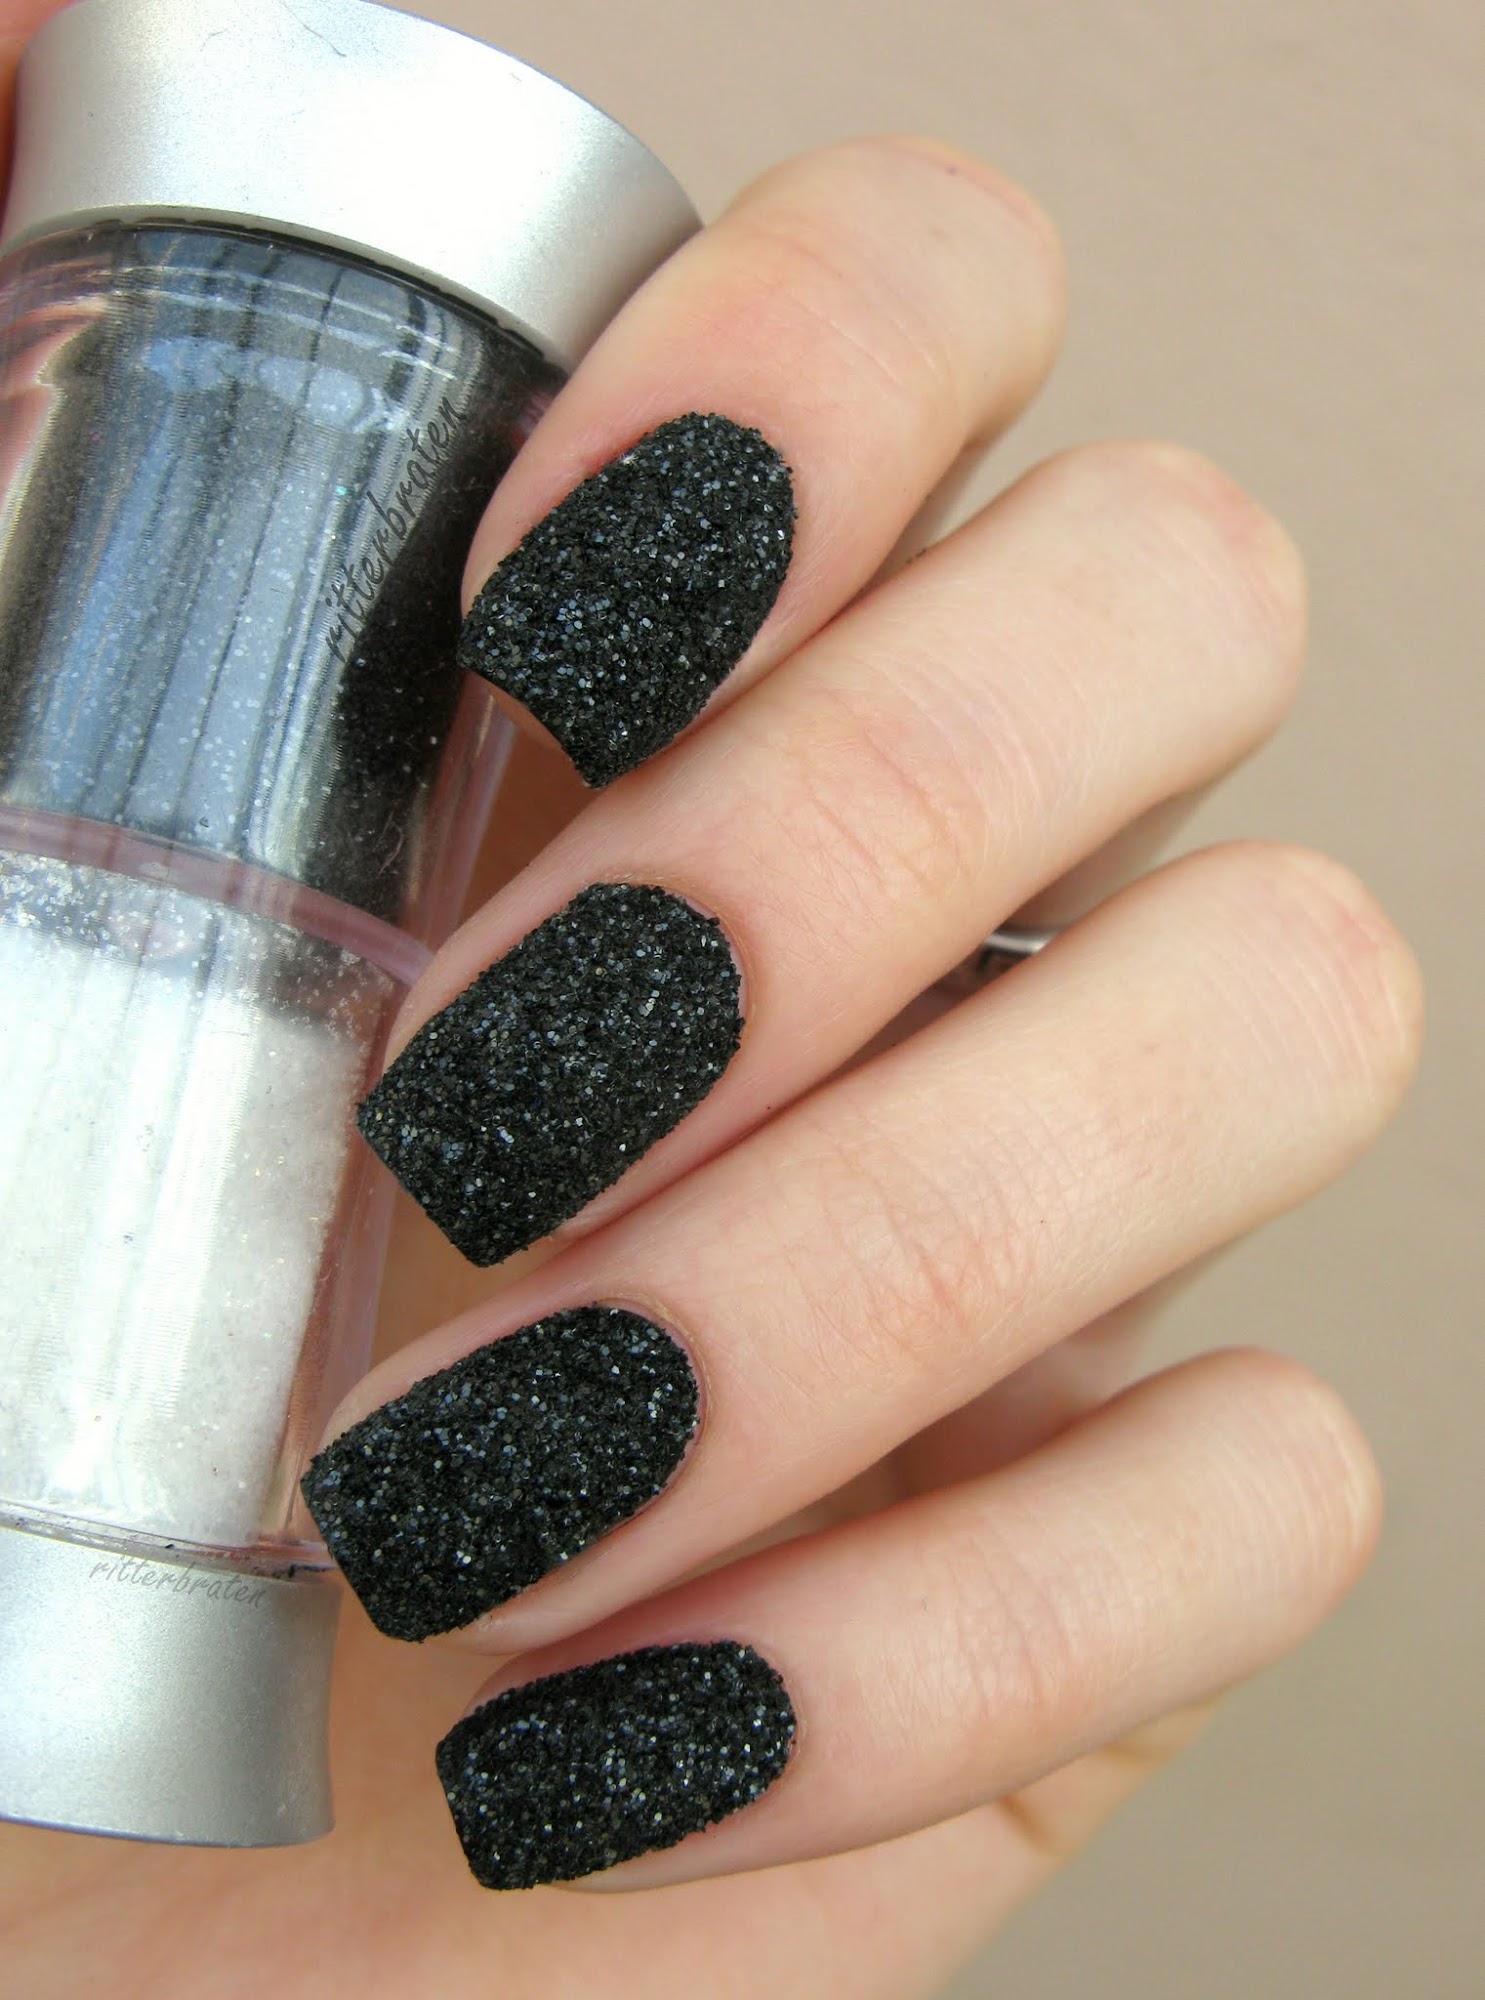
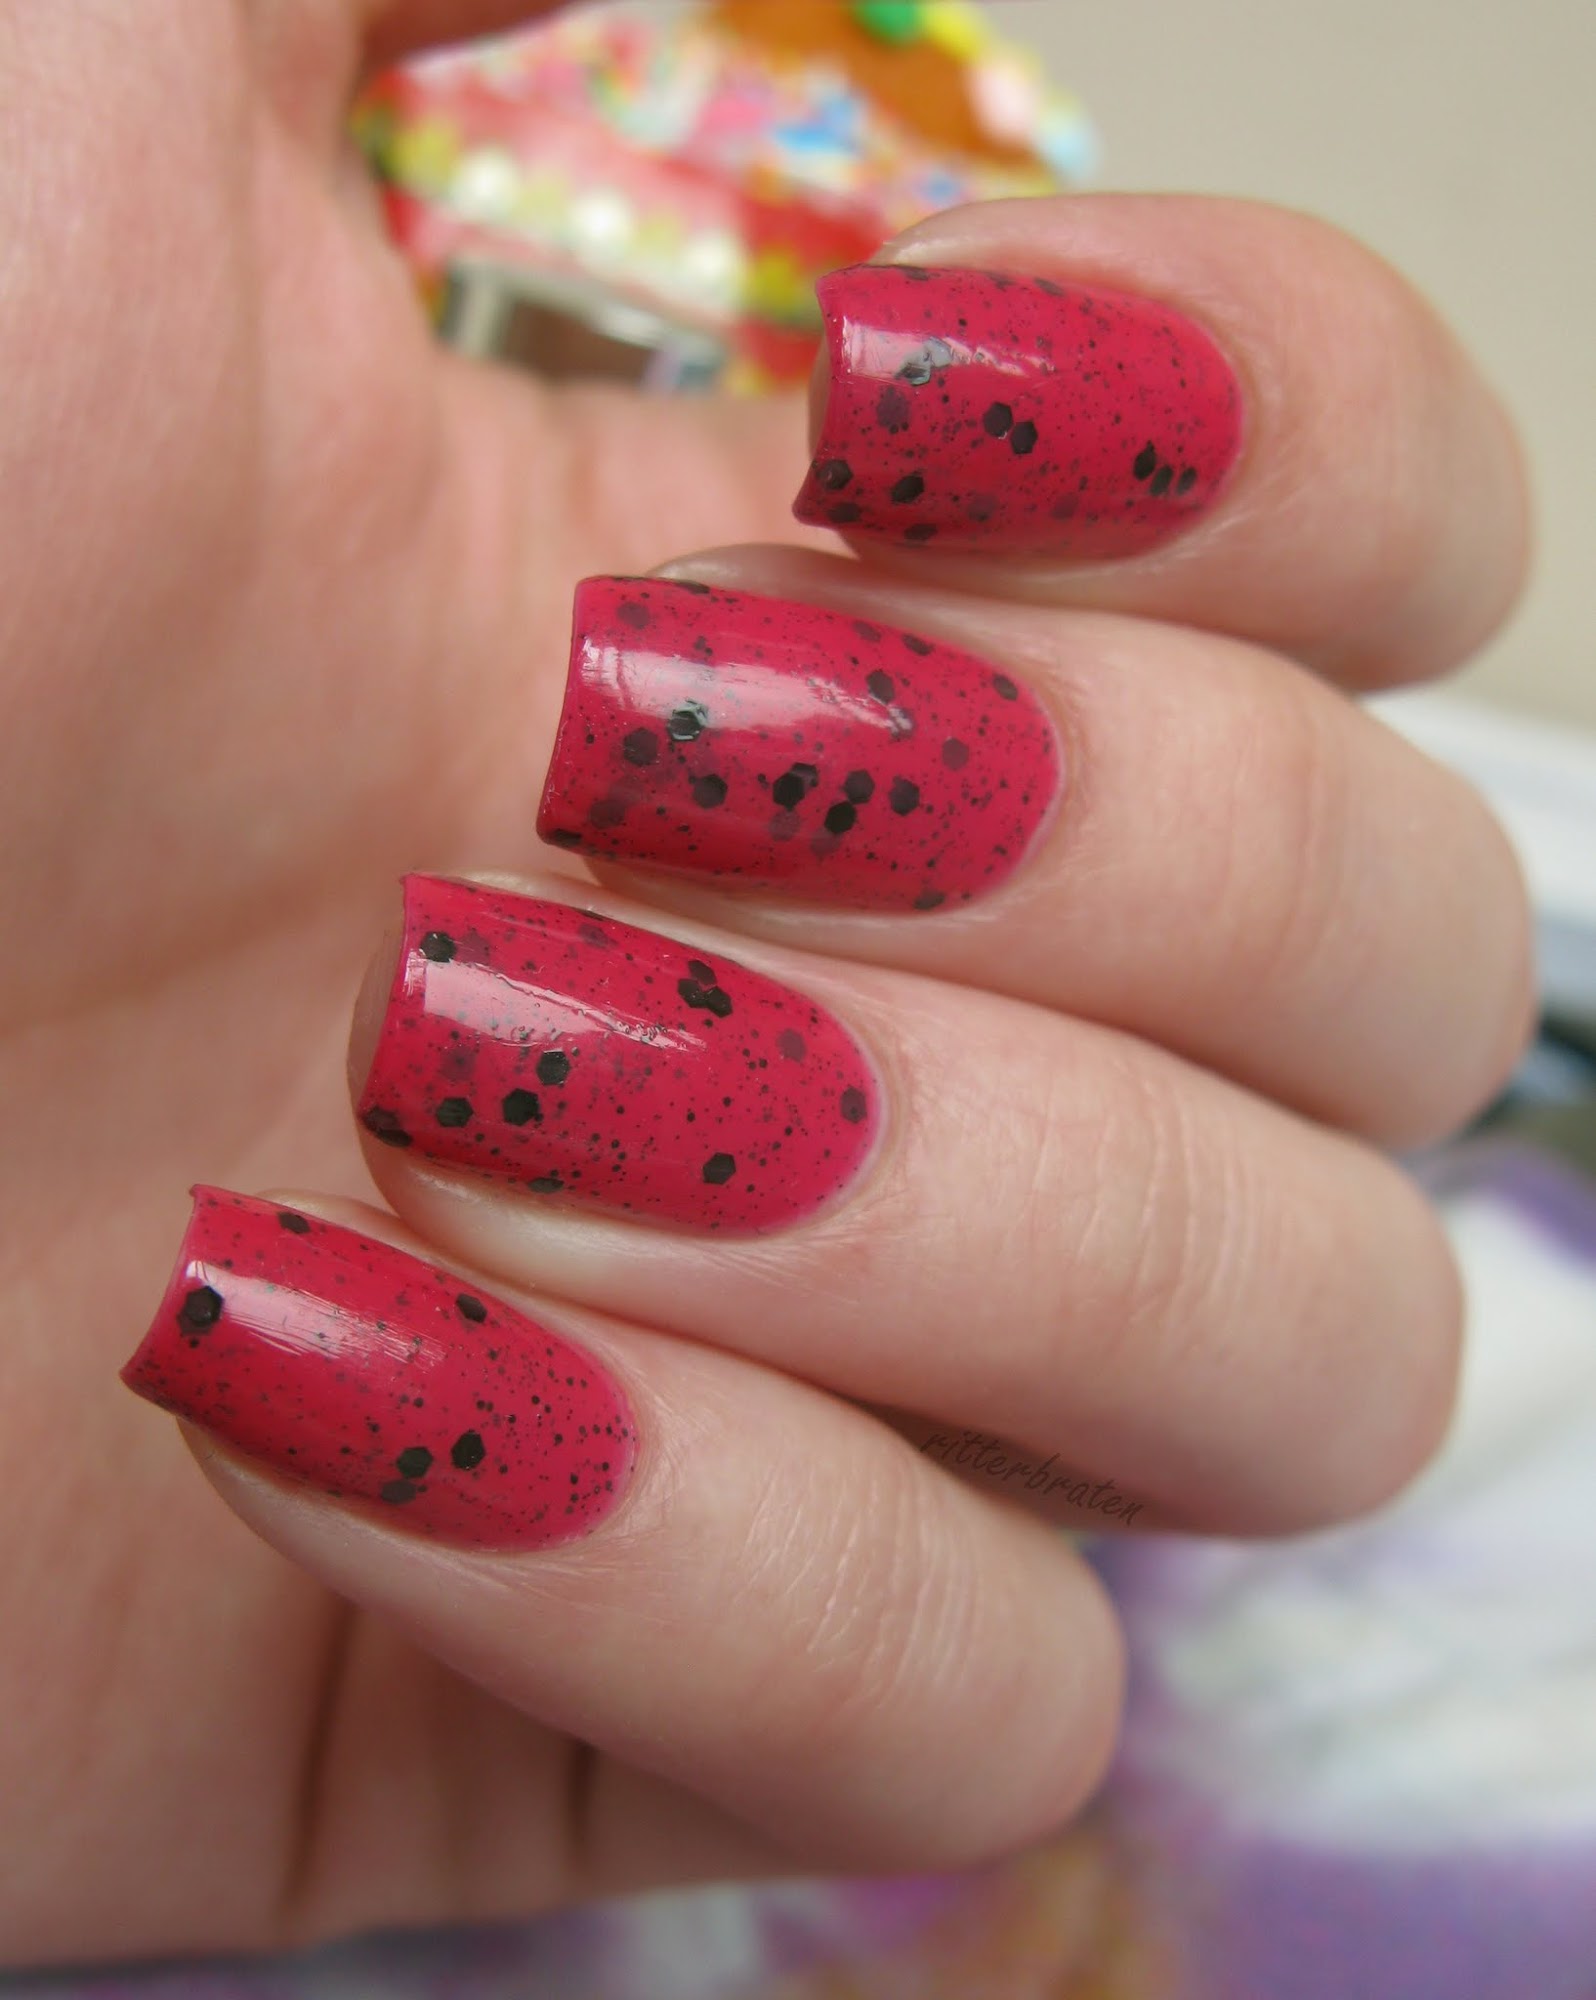
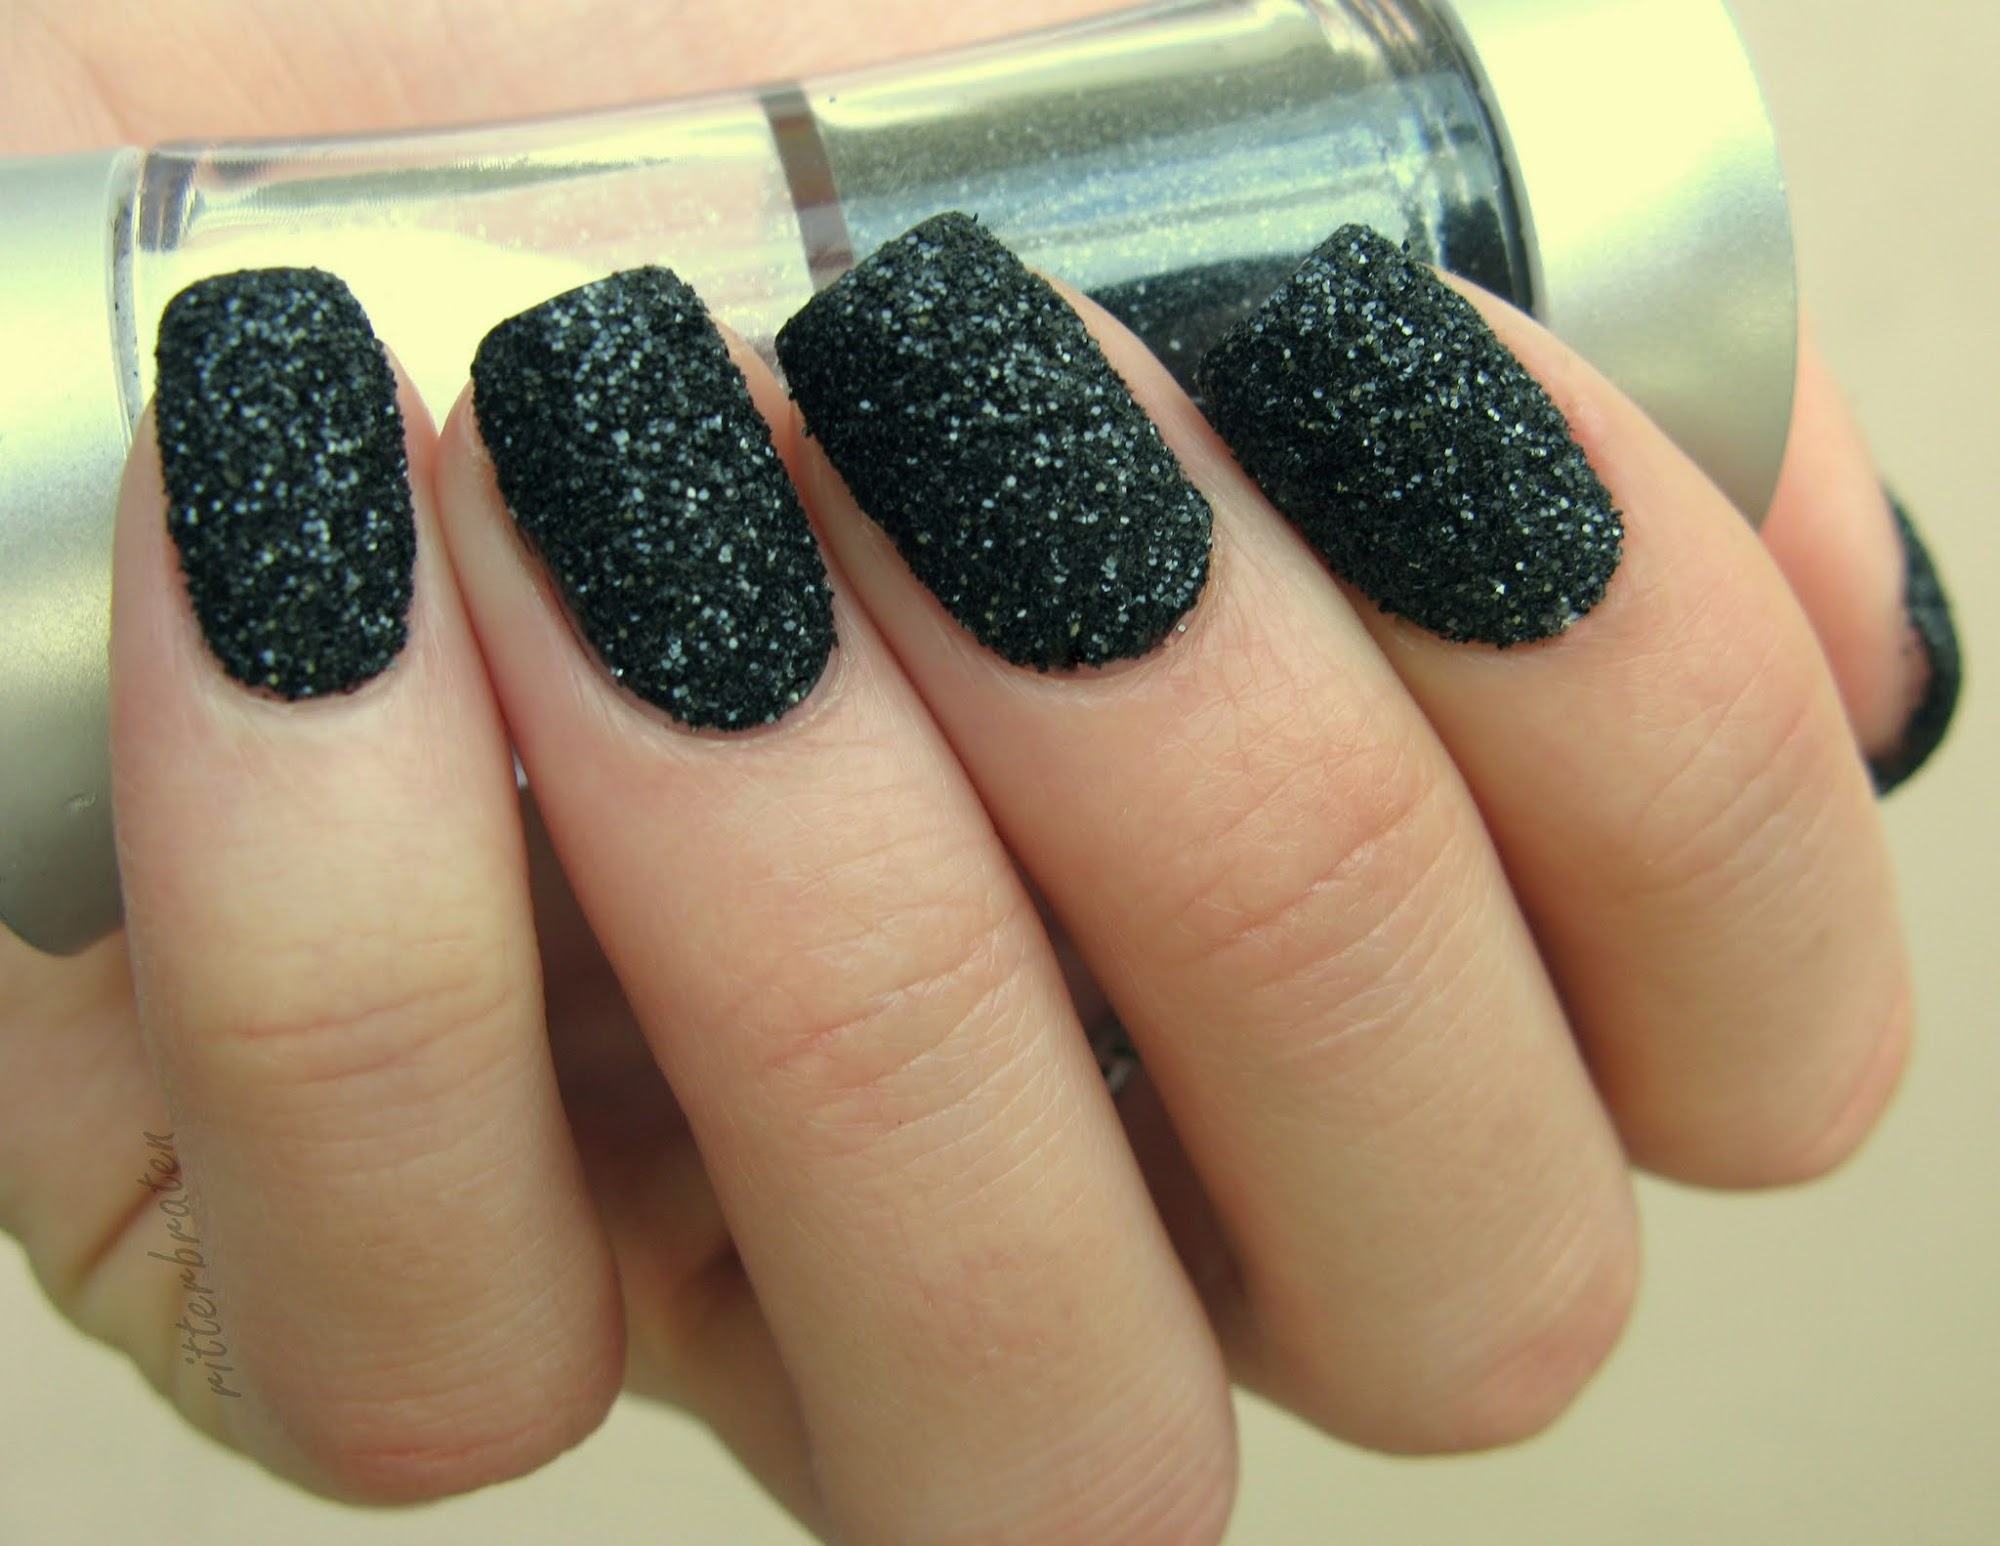
Close-ups.. looks not very "cute", rather brutal, I know ^^ 

Black Sand Nails

DIY Sand Nails

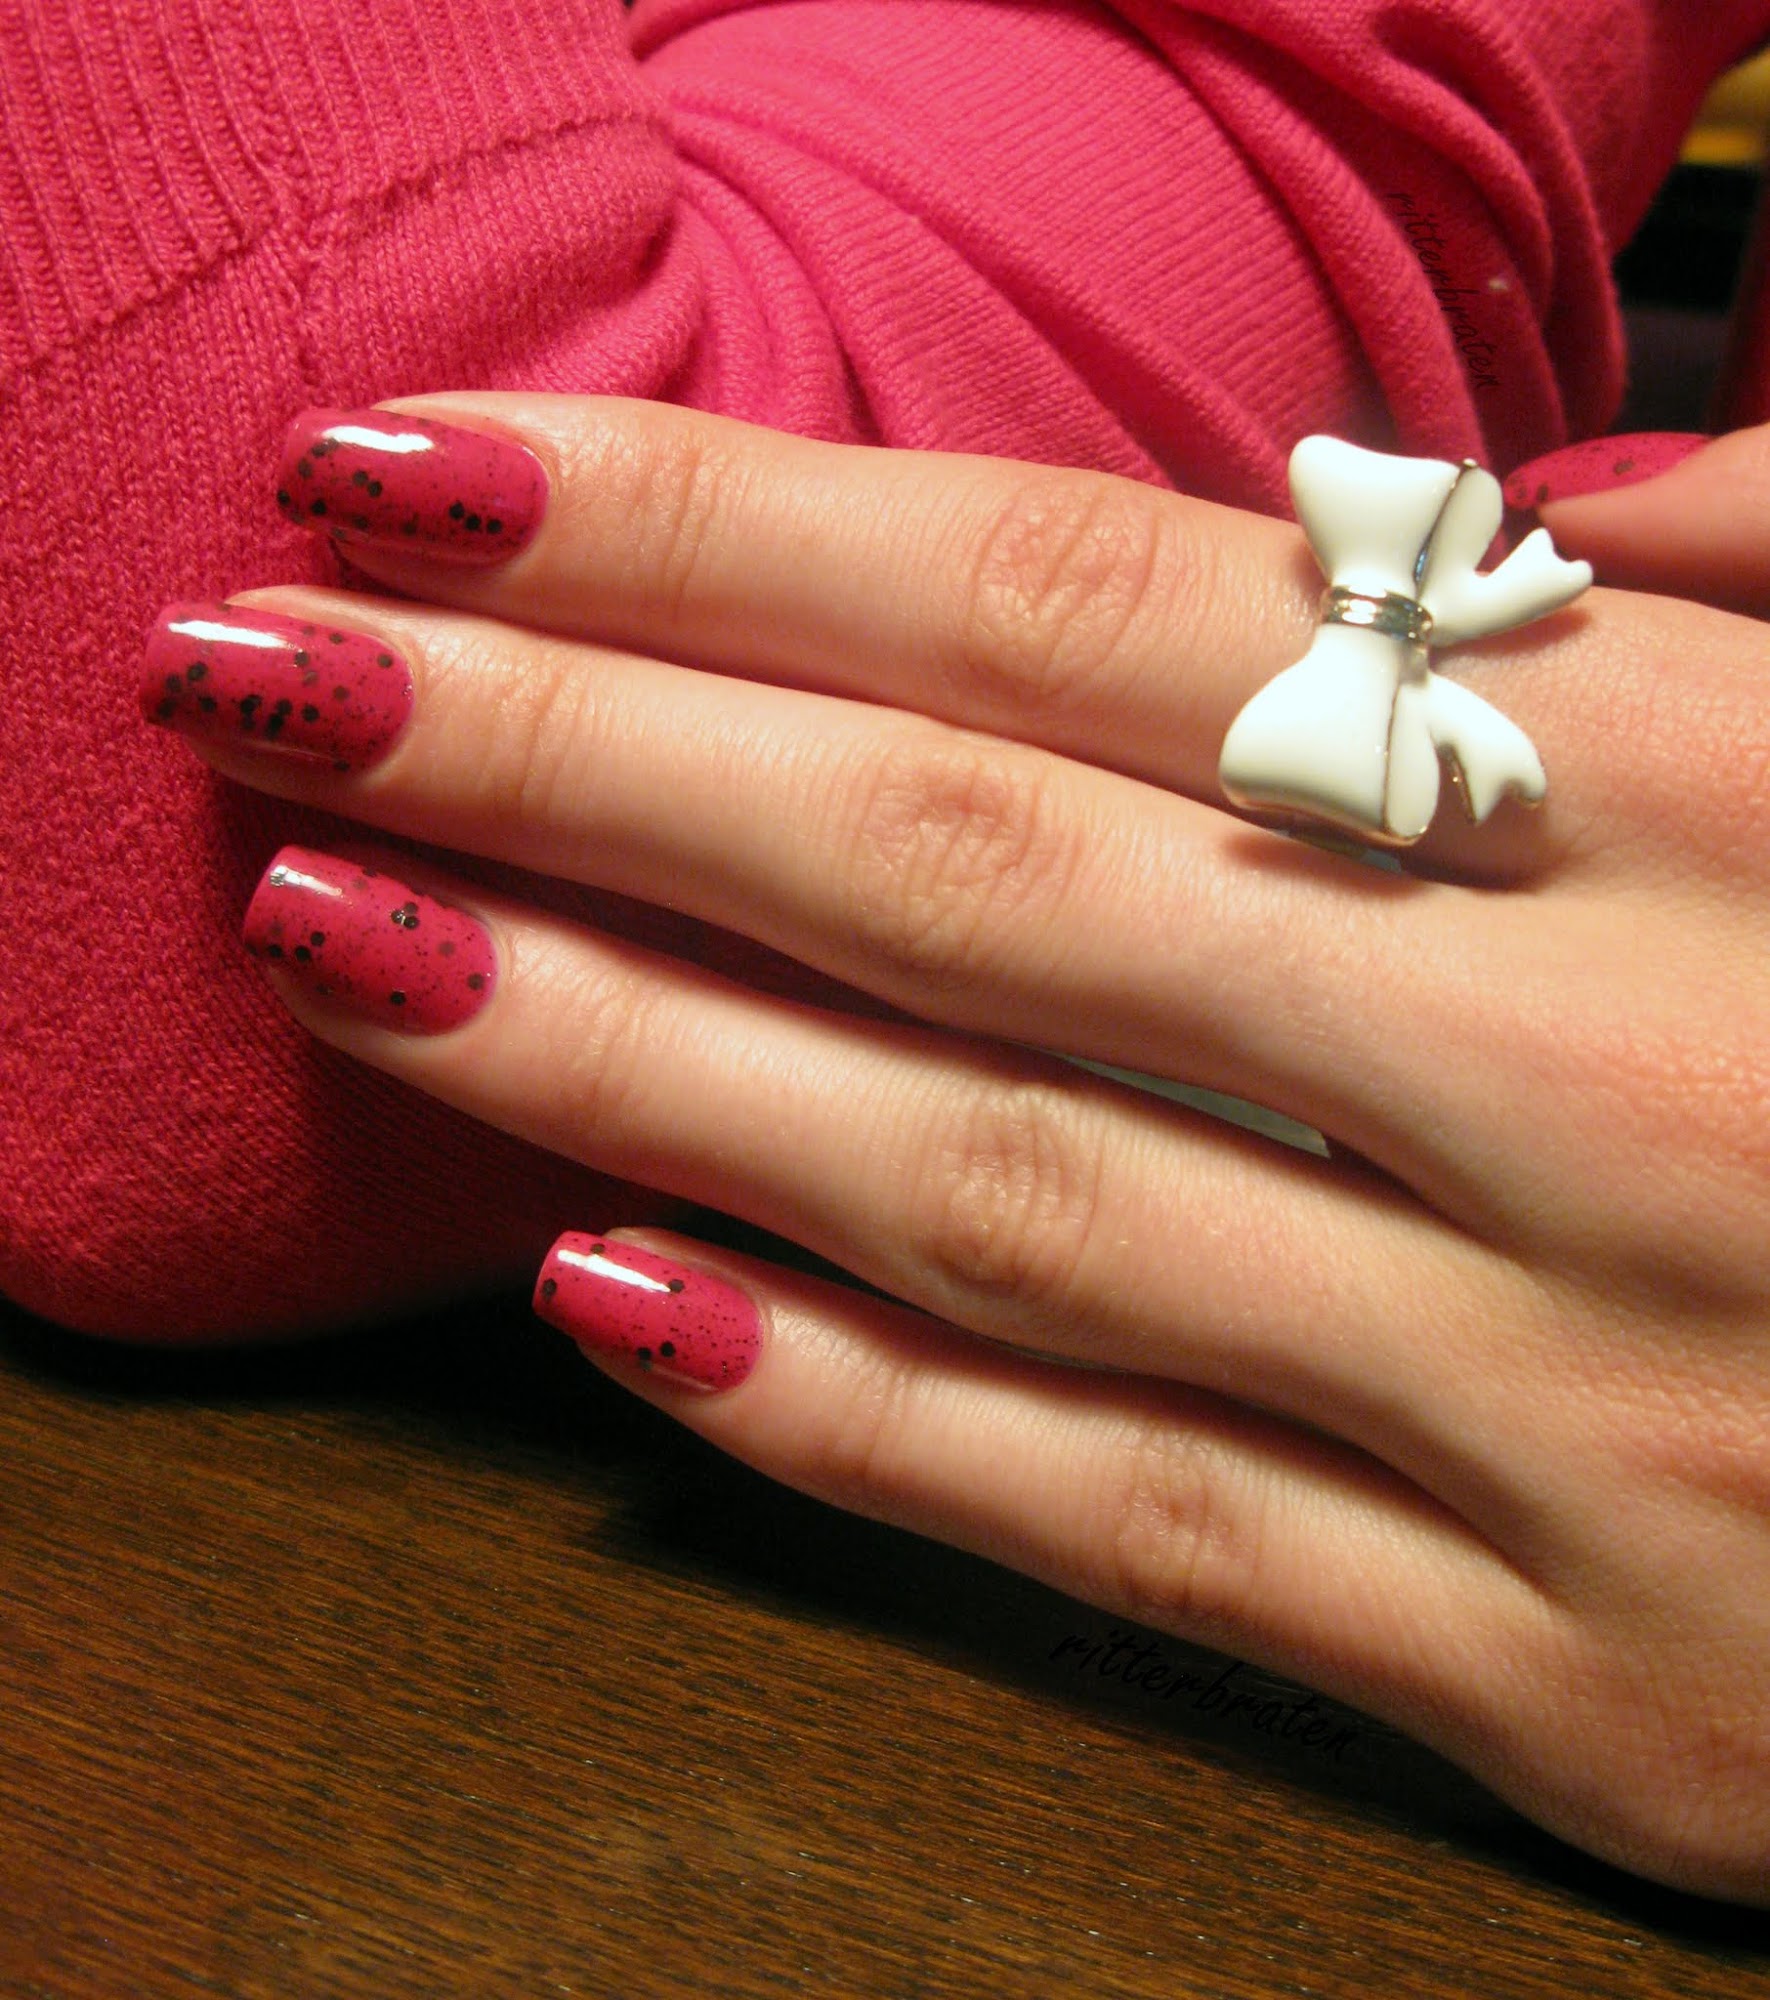
Surface: was supper gritty!!! Although all the glitter particles were nicely stuck and none falling off, I could barely touch my face. But it was a great feeling to scratch smth with a surface of a nail :D :D Like your bf's back XD Needless to say, sand nails were getting a lot of attention from people around me :)

DIY Black Sand Nails

home made sand nails

Surely, someone looking at this might say: "Oh holy sh#$^%!!! That's gross!!!". But then again, just read the name of my blog and don't take stuff any seriously :) :)

So, what do you think? :)

24. Mai 2013

Easter Eggs

Easter holidays have passed already, but I'll still publish an Easter style post - to recall good memories, for example. And to match the thematics of the nail polish collection called "Easter Eggs" by El Corazón, two representatives of which I am showing today. Easter Eggs collection includes pastel shades with larger-sized black hexagonal glitter and smaller black glitter particles. Actually, El Corazón created 6 "easter eggs", and below you will see my 2 picks.


First one to show, a pretty muted blue shade #423/98 - the texture is rather jelly-like, which makes the polish easier to apply - but the colour is fully opaque in 2 coats. As I said, it has black glitter of 2 sizes, smaller and larger. Very interesting polish I'd say,many of my friends and colleagues were like "oh, what do you have there on your nails?? Show me!!" :)


The second "Easter egg", #423/100, is a bright fuchsia with the same hexagonal and also smaller size black glitter. The formula is as great as in the first polish, 2 easy fast drying coats. 


This polish reminds me of a watermelon a bit, and I adore watermelons :) Also, the finish is very glossy, you don't really need a top coat, but I applied one to wear it longer - top coat creates a nice glassy effect.


And a photo of how I wore it:


I was wearing both of the polishes for 4-5 days each, and that's saying a lot for a polish addict!! :) Probably that's why I didn't manage to write this post before Easter.. :)

More El Corazón polishes you can see on their web-site and blog. Remember: El Corazón ships worldwide, so if you want to get some of their lovely bottles, just write an e-mail listing your order. Very customer friendly :)

*The nail polishes were kindly provided by El Corazón company for my consideration. In this post I expressed my honest and unbiased opinion about the products.

20. Mai 2013

Noites de Verão

Summer nights.. I've seen them from different Earth angles, starting from the north of Siberia, and down to African skies. Gotta go to Argentina still, but the opinion has been formed already - I love them! Considering this, you may imagine how happy I am to own a nail polish called Noites de Verão - Summer Nights that is. Actually, it's called Inocos Dançar, and Noites de Verão is the name of the collection. Besides, the polish itself is quite rare for me, it comes from Portugal - a country with the best summer nights I guess :) Lovely Akuma Kanji sent it to me in a swap, for which I'm so grateful to her! :)

Inocos Dançar

Inocos Dançar

Inocos Dançar


Inocos Dançar is an enchanting dark blue foil with a great formula: opaque in 1 coat already (2 coats on the pictures), perfect application. The colour seems more purplish inside under the artificial dim light, the top coat also added (!) the shade a purple hue. 


I'm not sure if it makes sense to post macroshots for a foil texture, but I still did, simply because I love jeans foils, so enjoy :) 


Now that I'm in Saint Petersburg, it's "white nights" time.. for me this phenomenon is just as beautiful as a dark starry night somewhere in the south - in a different way of course. And I hope that you enjoy the summer nights (polish and real) as well - wherever you are! :)

14. Mai 2013

Feng Shui Clouds

...or whatever this pattern is - but I definitely see air masses :) To be honest, I missed stamping, so I decided to share one of my latest konadicures!

OPI Suzi Says Feng Shui

BM-312

The base colour is OPI Suzi Says Feng Shui, a dusty blue creme which I keep failing to swatch separately although I own it for a long time.. The stamping pattern is BM-312 from Bundle Monster plates, stamped with Konad white polish. 

Bundle Monster stamping plates


To be honest, it was difficult to combine this manicure with suitable clothes, but I liked it a lot and I was wearing it for some days. Hopefully, you'll like it too! :)

1. Mai 2013

Flower-To-Flower

Since in the latest two posts I was referring to abundant silver shimmer and flowers, now I decided to combine the two things together and to show you one of the "hard-to-find" items of my polish stash: OPI Flower-To-Flower from 2010 Summer Flutter Collection. The rest 3 shades of the collection were totally not my thing, but Flower-To-Flower enchanted me from the first sight!

OPI Flower To Flower

Now it's not so easy to find this polish, and I think I know why: it's a very pretty Barbie pink with abundant silver shimmer. Seriously, I can't think of any dupes right now - tell me if you know any! :)

OPI Flower To Flower

Application was fine, although the polish was a bit runny, it's quite opaque, you'll need 1-2 coats. Some bold spots are possible after 1 coat, so I layered 2 to cover them. Drying time is good, you won't have problems with that.

OPI Flower To Flower

OPI Flower To Flower

Here you can clearly see the shimmer (everything clickable), in real life it's always visible too:

OPI Flower To Flower

OPI Flower To Flower

As the polish has such a nice name, and because I happened to have some flowers at home, I decided to make a little Flower-To-Flower with flowers photo session :) The polish is just made for spring days, and spring flowers too!

OPI Flower To Flower

OPI Flower To Flower

OPI Flower To Flower

OPI Flower To Flower

OPI Flower To Flower

OPI Flower To Flower

Do you have Flower-To-Flower? Or any other polishes from Summer Flutter Collection?